
 English
 Español
Boxed pipe runs are one of the most common obstacles you meet when fitting coving. A typical pipe box may be 70 mm deep and 140 mm wide, protruding from the wall to hide two 15 mm radiator pipes or a central heating pipe. When the coving reaches that point, the usual 90-degree intersection between wall and ceiling no longer exists. Instead you face a projecting box that breaks the geometry of the room.
The key insight: run the coving around the outside of the pipe box, treating it as an additional wall plane. This avoids fragile scribe cuts and produces a durable, clean finish that looks intentional.
Why Boxed Pipes Create Coving Challenges
A coving profile is designed to bridge the angle between two flat surfaces meeting at 90 degrees. A pipe box introduces a third plane with its own flat faces and corners. The divergence becomes obvious as soon as you try to align the coving with the box.
The box depth is the first issue. A box that projects 70 mm from the wall can swallow a 60–80 mm coving projection completely or leave it floating short of the face. The second issue is corner geometry. Coving has a curved face, while the box has sharp 90-degree corners. At the meeting point you need a clean transition, or you will see a gap.
The third issue is visual continuity. If you cut the coving into small pieces around the box, the eye picks up every joint. Running the coving around the box keeps one continuous line at the top and bottom of the profile, which reads much better in the finished room.
The Practical Approach: Run Coving Around the Box
The solution is to treat the box as a new wall surface. The coving follows the wall, turns around the first corner of the box, travels across the face, and turns around the second corner. This is not an outside corner in a room; it is an outside corner on a box, and the cutting method is the same.
- If the box is wider than the coving projection, you can run a return piece across the face. This gives a neat, framed look.
- If the box is narrower than the coving projection, you may need to reduce the coving size or build a small trim ledge to bridge the difference.
- Do not try to notch the coving around the box. The result is a weak edge and a visible seam that will need filler.
The general rule is simple: keep coving runs continuous wherever possible. The seams then align with the box corners, which reads as a deliberate detail rather than a repair.
Measuring and Cutting for a Boxed Pipe Run
Before cutting anything, measure the box accurately. Three numbers matter:
- Box projection from the wall, which tells you how deep the coving must reach.
- Box width across the face, which determines the length of the return piece.
- Ceiling height at the box, because a box that stops short of the ceiling introduces an extra vertical face.
For cutting, use a compound mitre saw with a fine-tooth blade. For white-primed MDF, a 60-tooth blade delivers a very clean cut. For pine, use a sharp blade and a zero-clearance throat plate to avoid splintering.
Cutting an outside corner on coving requires laying the coving upside down in the mitre saw, with the wall edge against the fence. The spring angle of the profile is the angle between the wall edge and the back edge. Always test the set-up on an offcut before cutting the real piece.
Choosing the Right Coving Material
Two substrate options dominate the market for white-primed coving: MDF and pine. Each behaves slightly differently when you need to cut around a pipe box.
MDF crown moulding has a smooth, uniform surface with no visible knots, which makes crisp cut lines easier to keep clean. It is dimensionally stable and resists the small seasonal movements that can open a joint over time.
Pinewood crown moulding has a traditional grain texture and slightly better screw-holding strength. It cuts well too, but you may need to fill the grain before painting, and it can splinter at the cut edge if the blade is not sharp.
| Material | Surface | Cutting | Best Use |
|---|---|---|---|
| MDF | Uniform, no grain | Crisp edges, zero splintering | Primed coving near boxes |
| Pine | Visible grain, knots | Clean but may splinter | Stained or traditional finishes |
In manufacturing terms, MDF crown moulding is the most frequently used material for long runs because it can be pre-primed in the factory and delivered ready for a final coat on site. If you prefer a wood grain appearance under the paint, pinewood crown moulding is the alternative. A factory-primed pine profile takes the final paint smoothly and keeps the warm natural feel of timber.
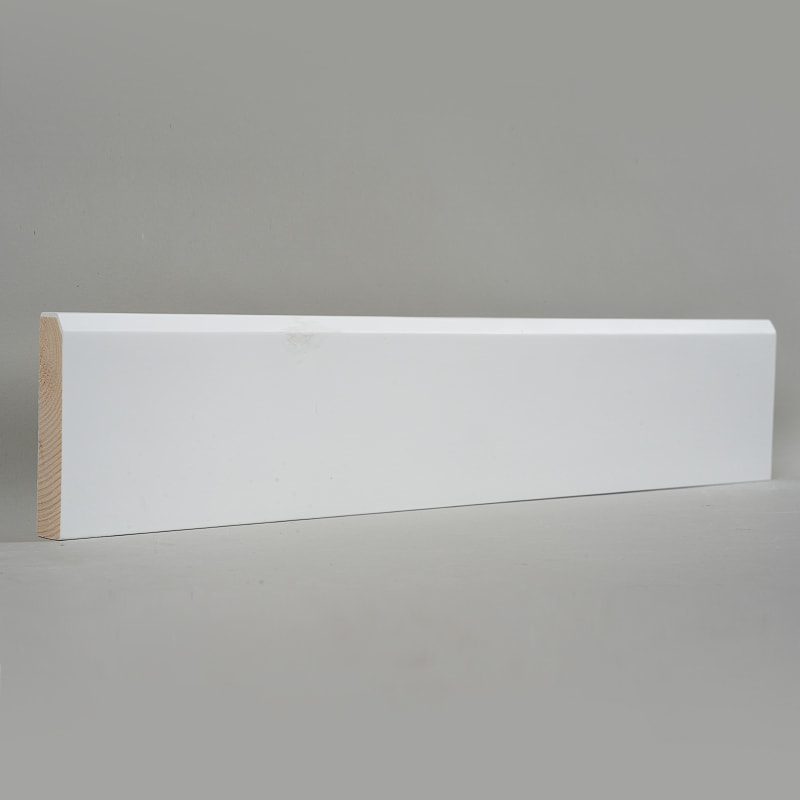 Radiata Pine Crown Moulding with Natural Wood GrainPine crown moulding offers a warm natural grain under paint, providing an alternative to MDF for residential trim. Factory priming ensures a smooth finish, while the timber's stability suits decorative profiles that require a touch of organic character.View Product →Pre-Primed MDF Crown Moulding for Long Interior RunsFactory-primed MDF crown moulding delivers a smooth, uniform surface for long ceiling and wall runs. Its dense fiberboard construction resists warping and accepts a final coat efficiently, making it a practical choice for clean, cost-effective decorative trim.View Product →
For a typical residential pipe box that projects about 100 mm from the wall, a 3/4 x 4 inch MDF crown moulding offers enough projection to overlap the box face cleanly. Whether you choose MDF or pine, the painting stage determines the final look. See our guide on coving vs painted pine to understand how a factory-primed surface performs compared with a site-painted bare timber profile.
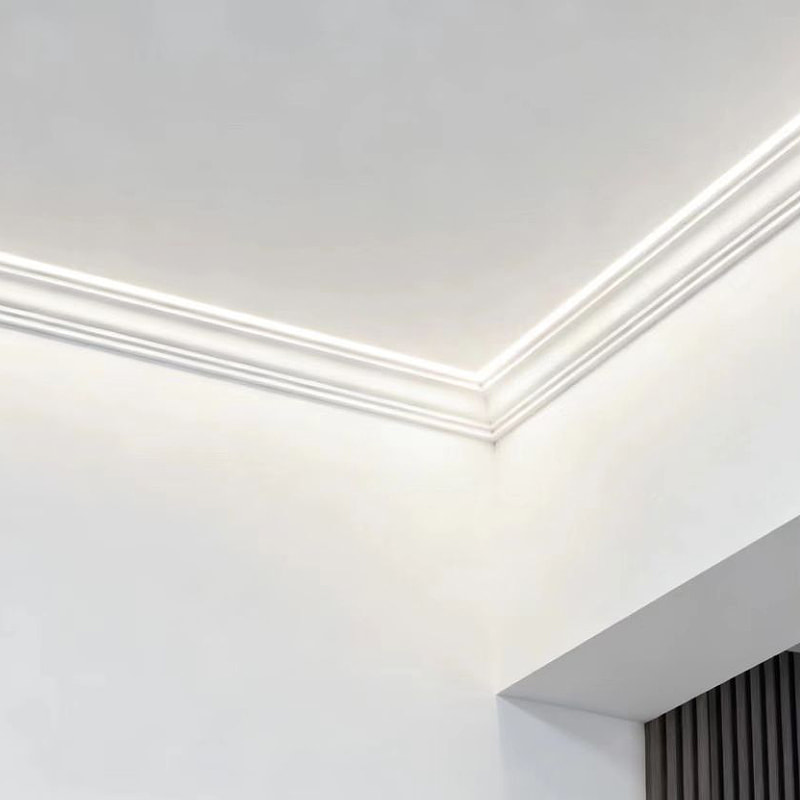 Filler-Primed Pearl White MDF Crown Moulding 3/4" x 4 3/4"This 3/4-by-4-3/4-inch MDF crown moulding is pre-finished in a pearl white coating, offering a durable, moisture-resistant surface. Its precise profile projects enough to cover typical pipe boxes, blending functional concealment with a clean, modern look.View Product →
Step-by-Step Installation Guide
- Mark the spring line on the wall and on the box face. Use a spirit level to keep the line true.
- Measure and cut the wall run up to the left edge of the box. Cut an outside corner at the end that meets the box.
- Measure the distance across the face of the box. Cut a return piece to that length, with outside corners at both ends.
- Cut a second wall run on the other side of the box, with an outside corner at the box edge.
- Dry-fit all three pieces together. Check for gaps, twist, or misalignment before fixing.
- Apply polymer adhesive to the back of each piece and press into position. Use screws or nails every 300 mm if the box is timber; use adhesive alone if the box is MDF or plasterboard.
- Fill joints and cut edges with wood filler, sand smooth, then apply primer and two coats of paint. The article on priming and painting MDF moulding covers this sequence in detail.
Common Challenges and Solutions
Challenge 1: The box is narrower than the coving projection
Select a smaller coving profile, or build a small timber shelf on top of the box to widen the surface for the return piece.
Challenge 2: The box meets the ceiling at an odd angle
Use a flexible coving material, or fill any gap with a flexible sealant before painting.
Challenge 3: The box is not square
Cut each corner individually. Use a bevel gauge to measure the actual angle and transfer it to the mitre saw.
Challenge 4: The box contains lagging or pipe insulation that makes it deeper
Check the total depth before ordering coving. For very deep boxes, consider a decorative trim or a timber ledge to bridge the difference.
Frequently Asked Questions
Q1: Do I need to remove the pipe box before fitting coving?
No. You can work around it. Removing it would mean re-siting the pipes and re-plastering. Running coving around the box is faster and less disruptive.
Q2: Can I use coving adhesive directly on the box face?
Yes. Use a polymer-based adhesive and make sure the box surface is clean, dry, and primed. If the box is MDF, apply a coat of primer first to reduce the absorption of the adhesive.
Q3: What is the easiest technique for cutting coving around a box?
A compound mitre saw with the coving placed upside down is the fastest method. For an outside corner, the saw table is set to 0 degrees and the blade is angled to match the spring angle of the profile. Test on an offcut first.
