 English
 Español
Architrave Meaning and Why the Term Still Confuses Homeowners
Ask three tradespeople for the definition architrave and you will likely get three slightly different answers, because the word carries both a classical origin and a practical, on-site meaning. In its original architectural sense, an architrave referred to the lowest section of an entablature, the horizontal beam resting directly on top of columns. Over centuries the term migrated into interior joinery, where today it almost always describes the decorative moulding that frames a door or window opening, covering the gap between the frame and the surrounding wall surface.
Understanding the architrave meaning matters because it directly affects how a room reads visually. An architrave is not a cosmetic afterthought. It conceals expansion gaps, protects plaster edges from chipping, and creates a continuous sightline that connects a door opening to the rest of the trim scheme, including the skirting board running along the base of the wall.
In practical joinery language, three related terms are frequently used interchangeably, though each has a distinct function:
- Architrave, the vertical and horizontal moulding surrounding a door or window opening
- Casing, a broader North American term that covers the same function as architrave
- Trim, a general category that includes architrave, skirting, and plinth blocks together
Field measurements from several residential renovation projects show that architrave widths typically range from 60 millimeters in minimalist interiors up to 120 millimeters in period-style homes, with profile depth increasing proportionally to wall thickness and door frame prominence.
Door Architrave: Anatomy, Placement, and Trim Molding Logic
A door architrave is built from three structural segments: two vertical legs running down each side of the frame, and a horizontal head piece connecting them at the top. The corners where these segments meet are finished either with a mitred forty-five degree cut, common in modern and minimalist schemes, or with a plinth block and corner block system, more typical of traditional and period interiors.
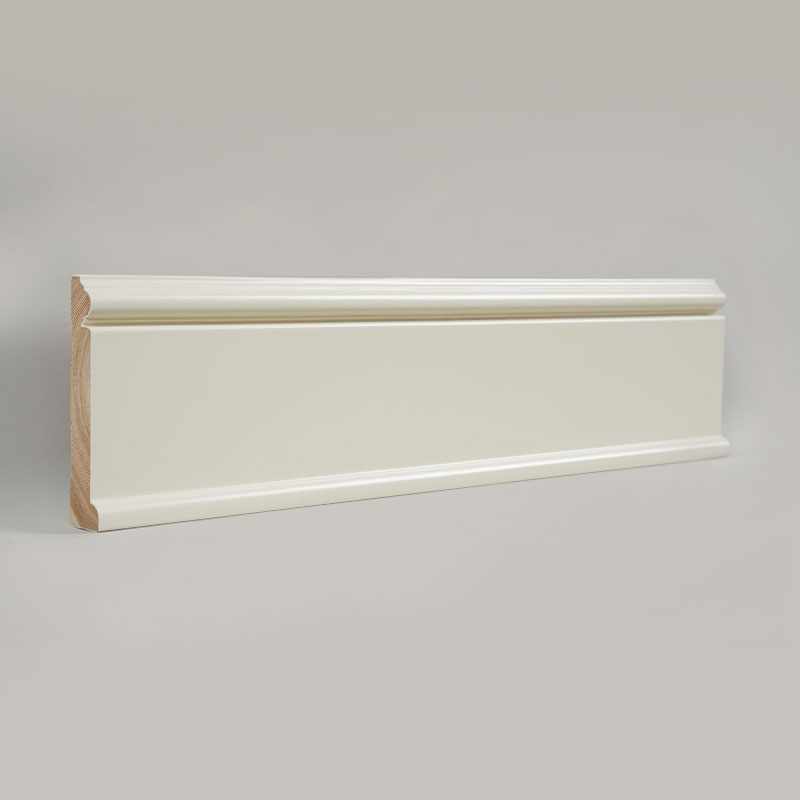
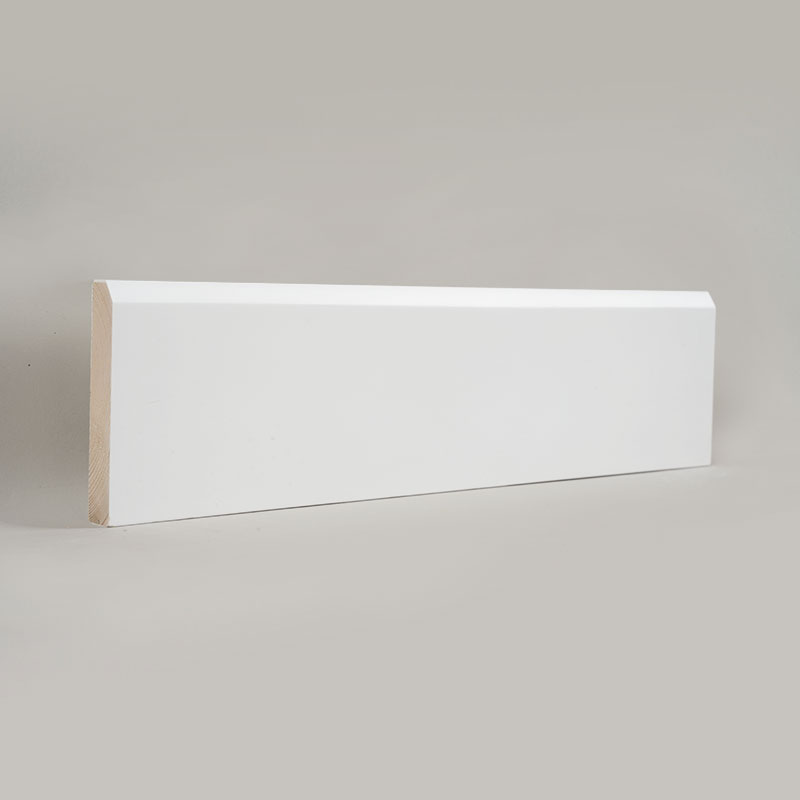
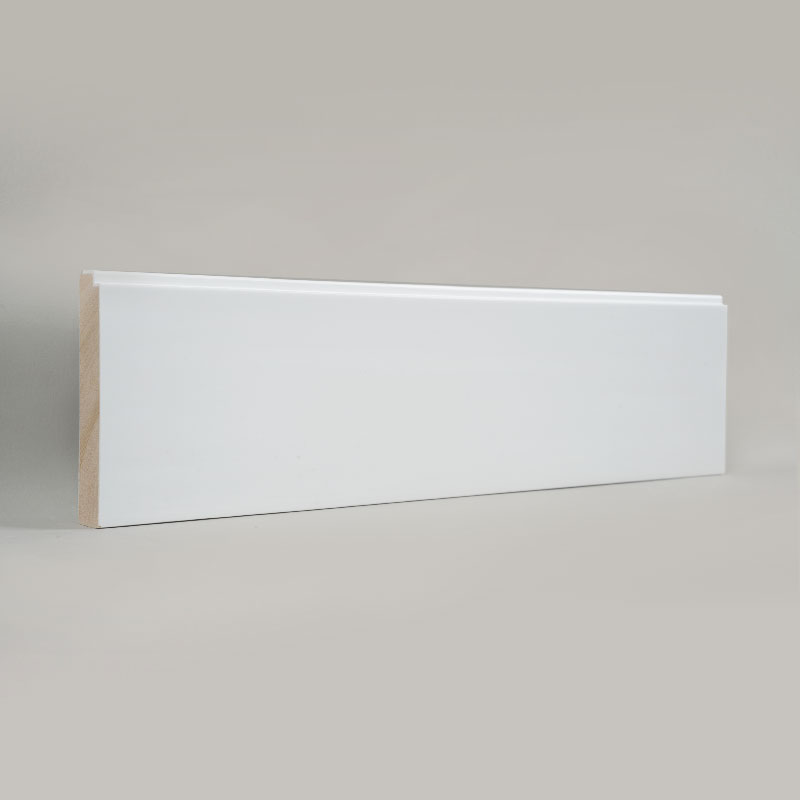
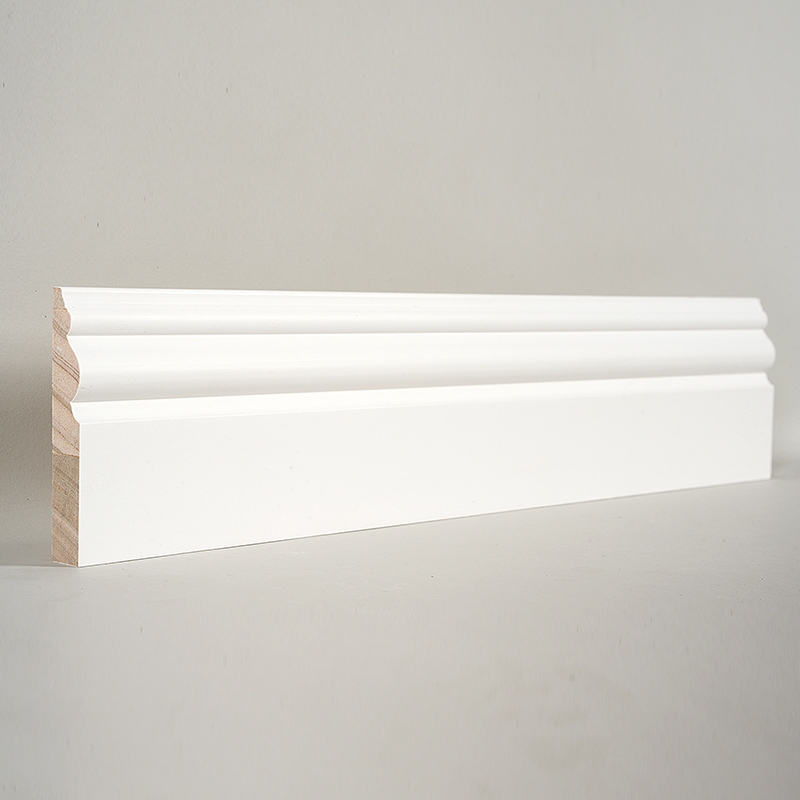
As a category of door trim molding, architrave sits within a hierarchy of profile complexity. Flat, square-edged profiles suit contemporary spaces and are faster to install, while ogee, bullnose, and torus profiles introduce shadow lines that read as more formal. The choice of profile is rarely arbitrary. It is generally selected to echo the profile family already used on the skirting, since a mismatch between these two elements is one of the most common visual errors in trim carpentry.
Standard placement follows a consistent logic across most residential codes and carpentry references. The architrave sits flush with, or very slightly proud of, the door frame edge, and is fixed with a small reveal, typically between 3 and 6 millimeters, left visible between the architrave inner edge and the frame itself. This reveal absorbs minor timber movement and prevents visible gaps from opening up as seasonal humidity changes.
A well-proportioned door architrave should appear as a natural continuation of the wall opening, not as an applied decoration sitting on top of it.
What Is a Plinth Block? Definition and Structural Role
A plinth block is a small, thickened block of timber or composite material placed at the base of a door architrave, exactly where the vertical trim meets the skirting board. Its primary function is transitional. Skirting boards are almost always thicker in profile than architrave legs, and without a plinth block, the architrave would either need to taper awkwardly into the skirting or leave an unresolved step where the two elements meet.
The term also appears in a related but distinct context, the column plinth, which refers to the base block supporting a structural or decorative column, whether in classical architecture or in modern interior columns used for structural cladding. While a column plinth deals with vertical load transition at a much larger scale, the underlying design principle mirrors the interior trim application, a wider base element resolving the meeting point between two components of different depth.
Typical plinth block dimensions observed across joinery suppliers fall into a consistent range:
| Component | Typical Height | Typical Width | Typical Thickness |
|---|---|---|---|
| Plinth block | 150 to 200 mm | 90 to 140 mm | 20 to 30 mm |
| Architrave leg | Full door height | 60 to 100 mm | 15 to 20 mm |
| Skirting board | Room height, varies | 100 to 200 mm | 18 to 25 mm |
The plinth block thickness is deliberately set slightly greater than both the architrave and the skirting, so that both elements can butt directly into it without additional scribing or tapering work on site.
Typical Skirting Board Heights Across Common Design Styles
Profile height is one of the first decisions that shapes how a trim scheme, including its architrave and plinth block, will ultimately read in a finished room. The chart below summarizes commonly referenced height ranges compiled from residential specification guides across several design styles.
Two patterns emerge from this range. First, as skirting height increases, architrave width and plinth block dimensions generally scale upward in proportion, keeping the visual weight of the trim scheme balanced. Second, styles with taller skirting boards, such as Victorian and Georgian interiors, almost always pair with plinth blocks rather than mitred corners, since the height difference between architrave and skirting becomes too large to resolve with a simple cut.
Matching Architrave and Skirting: Proportion and Profile Coordination
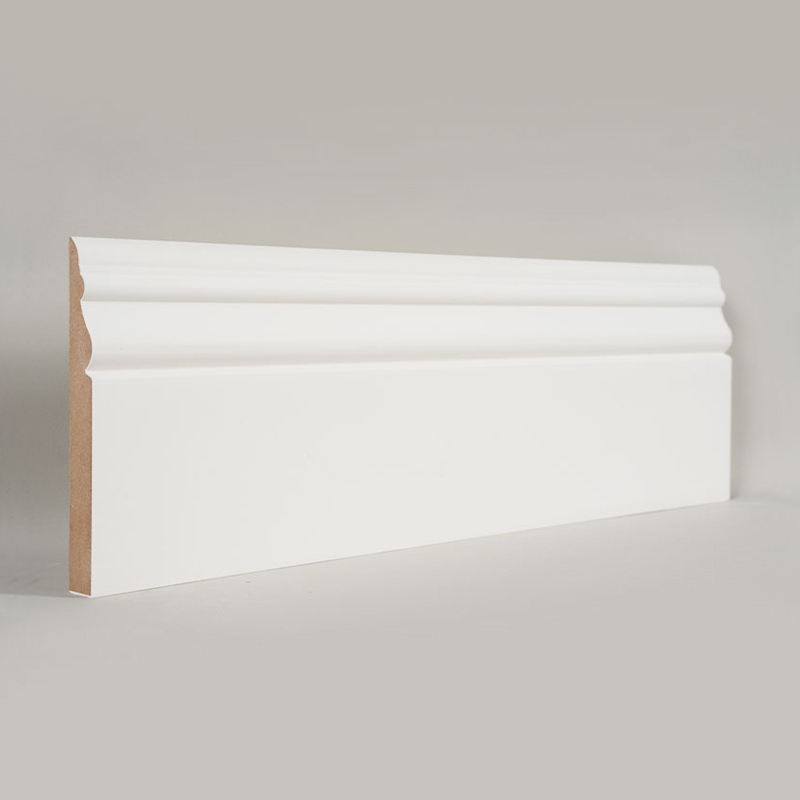
Matching architrave and skirting is less about using identical mouldings and more about maintaining a consistent design vocabulary throughout the room. Three coordination principles consistently appear in professional specification documents:
- Profile family consistency, meaning both elements should draw from the same design tradition, whether flat and square, or curved and ornamented
- Proportional width ratio, where architrave width is generally kept between 40 and 60 percent of the skirting height, avoiding a top-heavy or undersized appearance
- Material and finish continuity, since a solid wood skirting paired with a synthetic or composite architrave often shows visible differences in grain texture and paint absorption once finished
The relationship between casing and baseboards follows the same logic in North American terminology, where casing is the direct equivalent of architrave and baseboard the direct equivalent of skirting. Regardless of terminology, the coordination principle is universal, the vertical trim around openings and the horizontal trim along the floor line should visually belong to the same family.
A frequent specification error worth noting involves mixing profile depth without adjusting shadow line direction. When architrave has a deep ogee profile but the skirting is a flat, square-edged board, the shadow lines run in inconsistent directions around the room, which is often perceived as a visual defect even by occupants who cannot articulate why the room feels slightly off.
Comparing Installation Time Across Trim Components
Labor time is a practical factor that often determines whether a plinth block and corner block system, or a simple mitred junction, is specified for a project. The chart below reflects commonly cited average installation times per linear meter of trim, based on standard residential fit-out practice.
The additional time required for plinth blocks reflects the extra scribing and fitting work needed at the junction between skirting, architrave, and floor line, particularly where floor coverings are uneven or where the wall is not perfectly plumb. This is often the deciding factor when a project team weighs plinth blocks against a simpler mitred detail on a tight schedule.
Classic Plinth Block Installation: A Practical Sequence
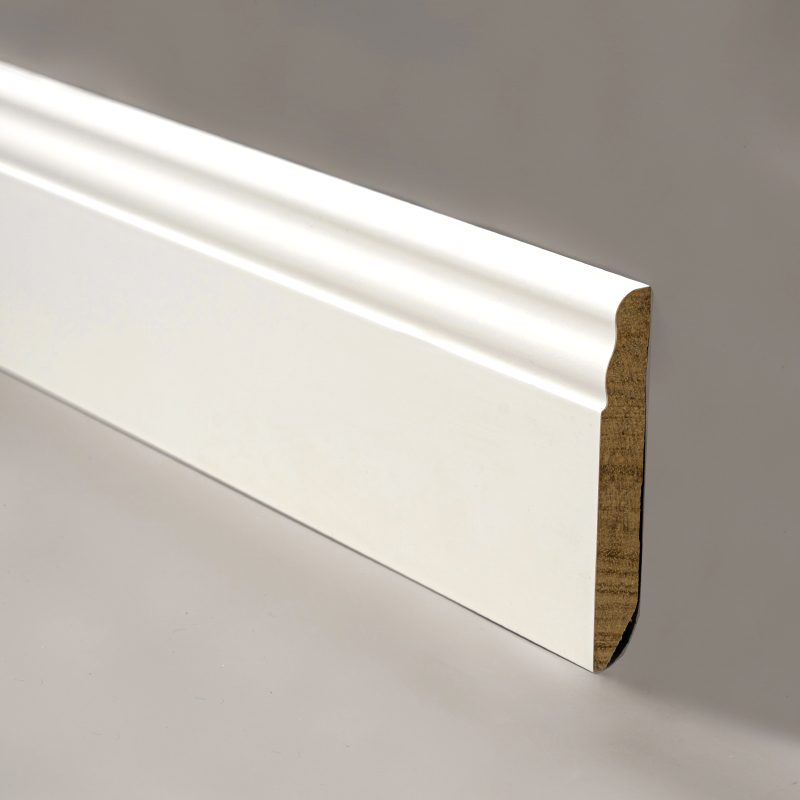
A classic plinth block installation follows a defined sequence that experienced installers rarely vary, since deviating from the order below tends to introduce visible gaps at the junctions.
| Step | Action | Purpose |
|---|---|---|
| 1 | Mark and fix the plinth block position first | Establishes the fixed reference point for both architrave and skirting |
| 2 | Cut and fit the architrave legs down to the plinth block top edge | Ensures a clean butt joint without a mitred corner |
| 3 | Fit the architrave head piece across the top of the opening | Completes the frame surround before skirting is introduced |
| 4 | Scribe and fit skirting into the side face of the plinth block | Transfers the thicker skirting profile smoothly into the block |
| 5 | Fill, sand, and finish all junctions | Removes any residual gap and unifies the surface finish |
The relationship between skirting thickness and the height of the profile itself is also worth understanding before ordering plinth blocks, since a block that is too thin relative to the skirting will leave a visible step rather than a flush transition. The line chart below illustrates how material thickness commonly scales with skirting height across standard product ranges.
Traditional Versus Modern Profile Selection: A Comparative View
Choosing between a traditional plinth block and architrave system, or a simpler modern mitred profile, involves trade offs across several practical dimensions. The radar chart below compares the two approaches across five criteria commonly weighed during specification, each scored on a five point scale where a larger area indicates a stronger performance on that criterion.
The traditional system consistently scores higher on proportion consistency, visual continuity, and long-term durability, since the thicker plinth block resists impact damage near floor level more effectively than a mitred corner. The modern approach scores higher on installation ease and cost efficiency, reflecting the reduced material count and simpler labor sequence.
Common Coordination Issues and Practical Fixes
Even experienced installers encounter recurring problems when architrave, plinth blocks, and skirting are specified separately rather than as a coordinated system. The table below summarizes the most frequently reported issues.
| Issue | Likely Cause | Practical Fix |
|---|---|---|
| Visible step at plinth block junction | Block thickness does not exceed skirting thickness | Specify a plinth block at least 3 to 5 mm thicker than the skirting profile |
| Mismatched shadow lines around room | Architrave and skirting drawn from different profile families | Select both elements from the same profile range before ordering |
| Gaps opening after seasonal change | Insufficient reveal left during installation | Maintain a consistent 3 to 6 mm reveal at all frame junctions |
| Uneven paint or stain absorption | Mixed material types across components | Keep material type consistent across architrave, plinth, and skirting |
Frequently Asked Questions
Q1: What is the simplest definition architrave a beginner should remember?
An architrave is the moulding that frames a door or window opening, covering the gap between the frame and the wall while creating a decorative border around the opening.
Q2: Does every door architrave need a plinth block?
No. A plinth block is only necessary when the skirting profile is noticeably thicker than the architrave, since its purpose is to resolve that thickness difference cleanly at floor level.
Q3: Is a column plinth the same thing as a door plinth block?
They share the same design principle of resolving a transition between two elements of different depth, but a column plinth supports a structural or decorative column, while a door plinth block sits at the base of interior trim.
Q4: How do I know if my architrave and skirting are properly matched?
Check that both elements share a similar profile family and that the architrave width falls within roughly 40 to 60 percent of the skirting height, keeping the overall trim scheme visually balanced.
Q5: Can casing and baseboards use different wood species?
They can, but matching species or at least matching grain character and finish is strongly recommended, since visible differences in absorption and texture become more noticeable once both surfaces are painted or stained.
Q6: Why does baseboard trim installation take longer with a plinth block system?
Plinth block installation requires additional scribing at the junction between architrave, skirting, and floor line, which adds fitting time compared to a simple mitred corner detail.