 English
 Español
What Makes MDF Different From Solid Wood When Painting
Medium density fiberboard behaves nothing like solid timber once a brush or roller touches it. The board is made from wood fibers bonded with resin under heat and pressure, which gives it a flat, grain-free face but also makes it extremely absorbent along any cut or routed edge. This single property drives almost every decision in an mdf paint project, from primer selection to the number of coats required before a topcoat will sit evenly.
Two behaviors matter most for installers and finishers working with painted trim:
- Factory faces are pressed smooth and absorb finish evenly, so a single coat of primer usually covers well.
- Cut edges, mitred corners, and routed profiles expose loose fiber that pulls moisture out of wet coatings almost instantly, leading to a fuzzy or raised texture once dry.
Because the substrate is dimensionally stable and free of knots or grain telegraphing, a correctly primed MDF profile can actually deliver a flatter, more consistent painted surface than solid wood. The trade-off is that shortcuts during priming show up immediately as flashing, edge swelling, or uneven sheen once the topcoat goes on.
Why Priming MDF Correctly Determines the Final Finish
Priming mdf is not an optional undercoat step the way it can sometimes feel with painted softwood. On MDF, the primer is doing structural work: it locks down loose surface fibers, equalizes absorption between the face and the edges, and creates a uniform film for the topcoat to bond to. Skipping this step, or using a thin single coat where two are needed, is the single most common reason painted MDF trim fails at joints and profile edges within the first year.
A well-primed MDF surface should feel uniformly smooth to the hand across the face, the profile detail, and the cut ends, with no visible texture difference between them.
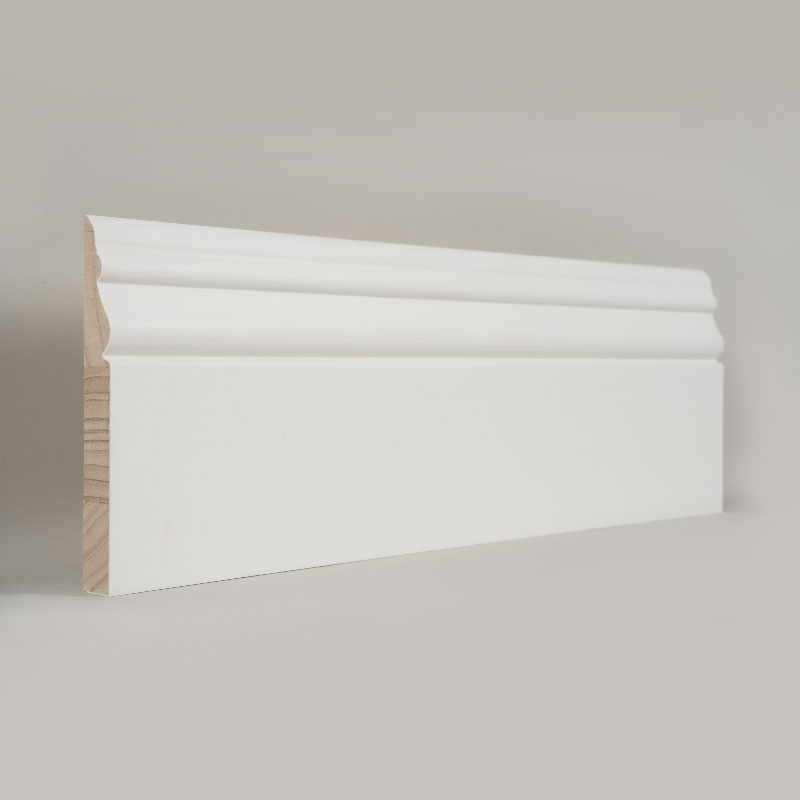
Pre-primed profiles reduce a large part of this risk before installation even begins. A white primed skirting board arrives with the face and back already sealed at the factory under controlled conditions, so on-site work can focus on cut ends, mitres, and fastener holes rather than priming an entire run of trim from bare board.
Acrylic Primer vs Oil Based Primer for MDF
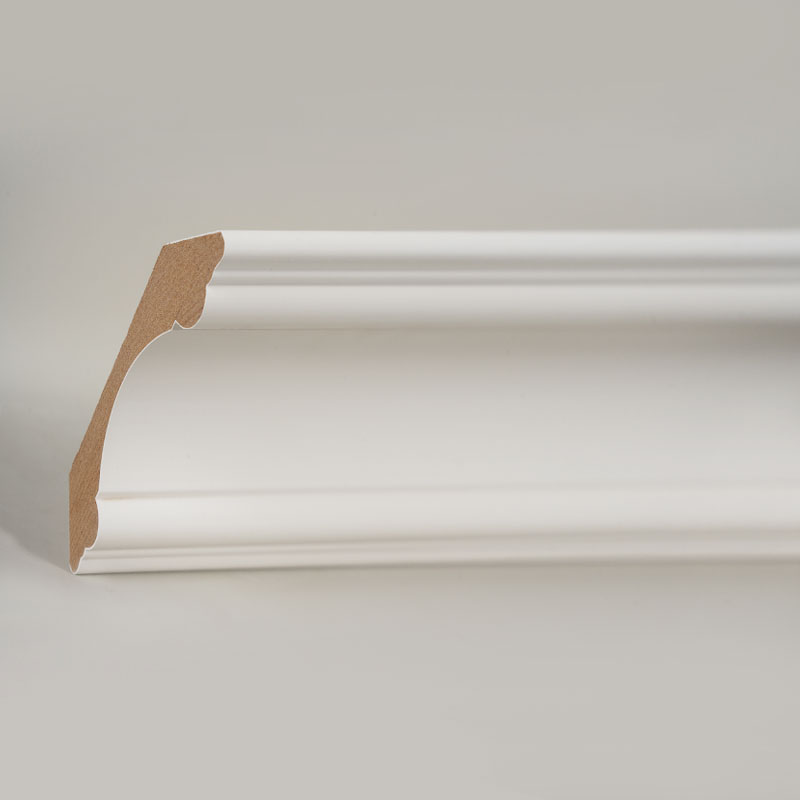
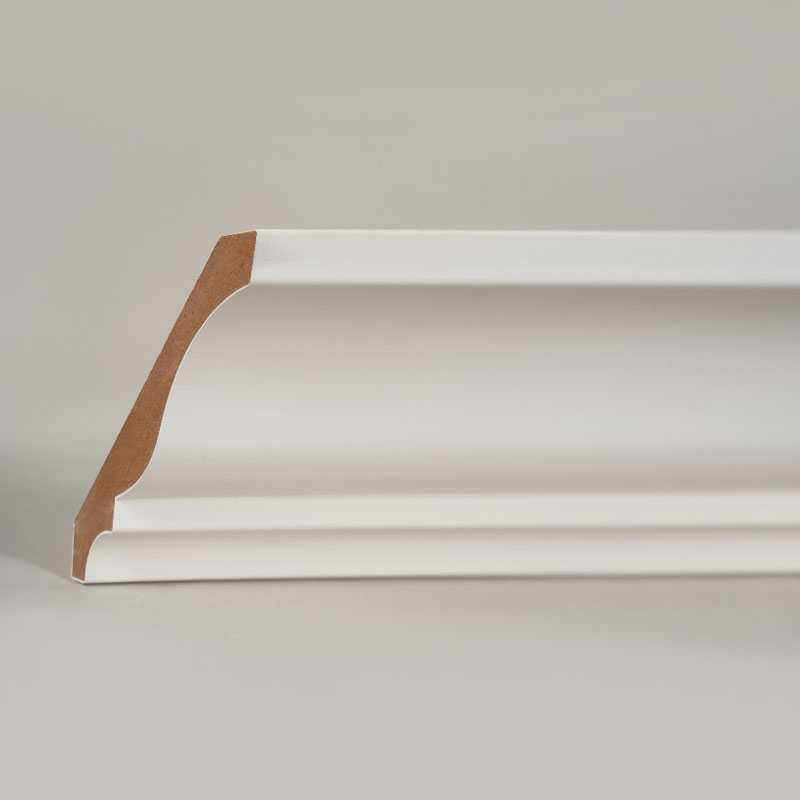
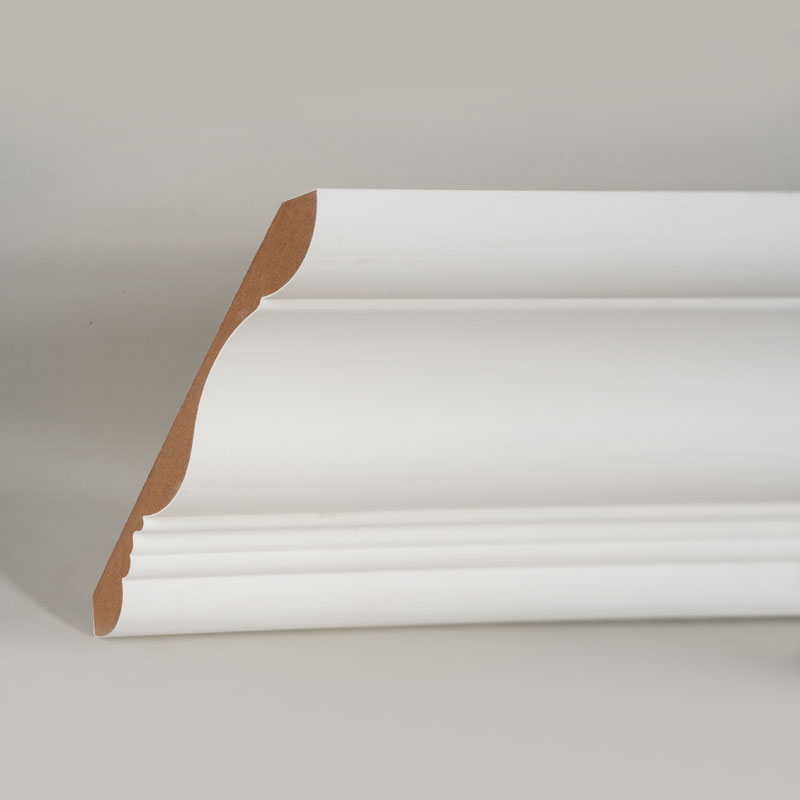
The choice between an white primed crown moulding style water-based system and a traditional solvent system comes down to how each primer manages moisture, odor, and dry time on a fiber-based substrate. Both an acrylic primer for mdf and an oil based primer for mdf can produce a durable base, but they arrive there through different mechanisms.
Acrylic primers dry through water evaporation, which is fast but means the water briefly re-wets exposed fiber before the film sets. Oil based primers cure through oxidation, which is slower but forms a harder, more moisture-resistant film in a single application, particularly useful on raw cut edges.
| Property | Acrylic Primer | Oil Based Primer |
|---|---|---|
| Typical dry to recoat | 1 to 2 hours | 6 to 8 hours |
| Odor during application | Low | Moderate to strong |
| Edge fiber raise risk | Moderate, sand between coats | Low |
| Cleanup | Water | Solvent |
| Best suited to | Interior faces, quick turnaround jobs | Cut ends, high moisture rooms |
In practice, many finishers use both: an acrylic primer for the flat faces where fast turnaround matters, and a targeted oil based primer sealer at cut ends and mitre joints where the fiber is most exposed. This hybrid approach keeps odor and dry time manageable while still protecting the vulnerable edges.
How to Prime MDF Skirting Board and Crown Moulding Step by Step
The sequence below applies to both flat skirting profiles and more detailed crown moulding, with the main difference being extra attention to the recesses and coves on decorative profiles.
- Sand the surface lightly with a fine grit pad to knock down any raised fiber, then wipe away dust with a dry cloth.
- Seal all cut ends and mitre joints first with a small brush, working the primer into the exposed fiber rather than just laying it on top.
- Apply the first full coat of primer to the face and profile detail using a foam roller for flat sections and a angled brush for coves and beads.
- Allow the coat to dry fully, then sand with a very fine grit to remove any nap or texture before the second coat.
- Apply a second, thinner coat focused on evening out sheen and covering any spots missed on the first pass.
- Inspect under raking light before moving to undercoat or topcoat, since any texture left at this stage will telegraph through the final finish.
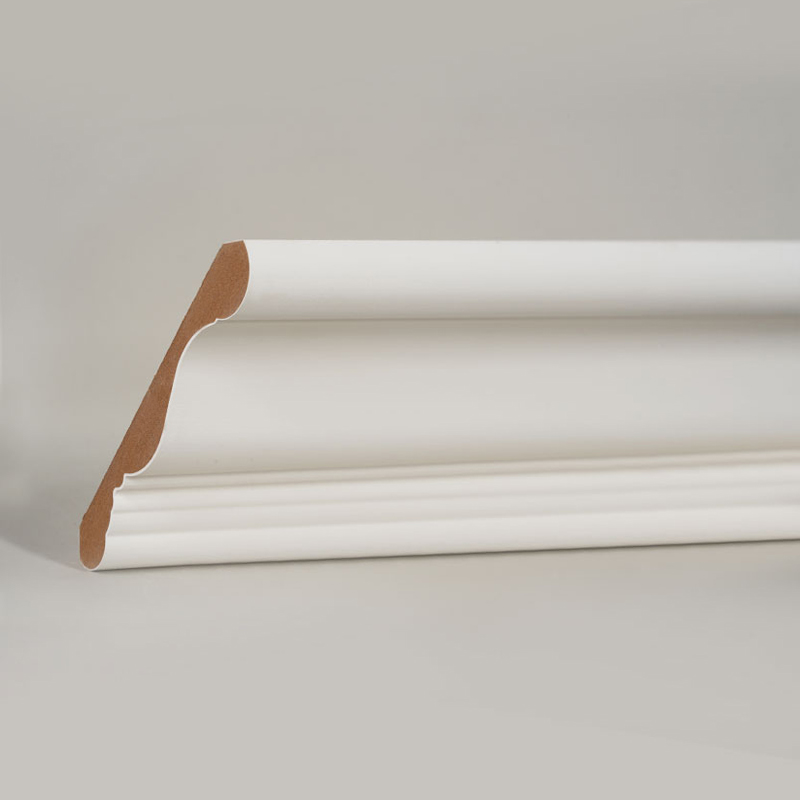
Crown moulding profiles with deep coves benefit from a slightly thinned first coat so the primer flows into the detail without pooling, followed by a fuller second coat once the first has fully cured.
Sealing MDF Edges Before Painting
Sealing mdf edges before painting is where most on-site touch-up work happens, since factory-primed lengths are almost always cut down to fit a room. Any freshly cut end exposes raw fiber that will absorb far more coating than the primed face around it, and if left untreated it shows up as a dull, slightly swollen band once paint is applied.
A reliable edge-sealing routine looks like this:
- Cut cleanly with a sharp blade to minimize fiber tear-out at the edge.
- Apply a thin coat of primer or a dedicated edge sealer directly to the cut, letting it soak in rather than sitting on the surface.
- Once dry, lightly sand the edge flush with the surrounding profile before a second sealing coat.
- Fill any visible fiber texture with a fine surface filler before final sanding, particularly on mitred corners that will be viewed head-on.
Rooms with sustained high humidity, such as bathrooms or laundry areas, benefit from an extra sealed coat on all cut ends regardless of how well the face was primed at the factory, since moisture cycling at an unsealed edge is the most common cause of joint swelling over time.
Choosing the Right Undercoat for MDF
An undercoat for mdf sits between the primer and the topcoat, and its job is different from either: it builds an even, opaque base that the topcoat color can sit on without the substrate or primer tone showing through, especially under lighter finish colors. Not every project needs a separate undercoat step, but it becomes important when moving from a darker primed surface to a light or bright topcoat.
Shellac-based sealers cover the least area per litre because they are formulated to stop tannin bleed and knot bleed through rather than to build film thickness, so they are typically used as a targeted step rather than a full undercoat. Acrylic and stain-blocking undercoats are more economical for covering full lengths of trim before the final topcoat.
For most interior skirting and crown moulding work, a single even undercoat coat is enough once the primer has fully cured and been lightly sanded. Two thin undercoat coats generally outperform one heavy coat, since a heavy application is more prone to sagging in coves and behind decorative beads.
Applying Oil Based Paint for MDF Trim
An oil based paint for mdf topcoat is still a common choice for trim work because it self-levels well, which hides the small brush and roller marks that are more visible on water-based finishes under raking light. The trade-off is a longer working window and a longer full cure time before the surface can be handled roughly.
Because oxidation-cure finishes need consistent airflow to dry evenly, ventilation matters more with oil based paint than with faster water-based systems. Painting in a closed, humid room can extend the recoat window well beyond the times shown above, and rushing a second coat before the first has skinned over fully tends to trap solvent under the surface, leading to a soft or wrinkled finish that only becomes obvious days later.
Thin, even coats applied with a quality synthetic brush or a fine foam roller consistently outperform a single thick coat, both in leveling and in how well the finish resists chipping at corners and edges once fully cured.
Common Mistakes That Ruin a Painted MDF Finish
Most finish failures on painted MDF trace back to a small number of repeatable mistakes rather than material quality itself.
Higher sheen finishes retain their surface reflectivity better over repeated topcoats because they contain less flattening agent, but they also show every surface imperfection more clearly, so the trade-off is that a well-primed and well-sanded MDF profile is even more important as sheen level goes up.
- Skipping a sand-and-tack step between primer coats, leaving nap that shows through the topcoat.
- Leaving fresh cut ends and mitres unsealed, which shows up as swelling and dull patches weeks after installation.
- Applying a thick single coat instead of two thin coats, causing sagging in coves and profile detail.
- Recoating before the previous coat has fully skinned over, trapping solvent or moisture under the surface.
- Using a topcoat sheen far higher than the primer and undercoat quality can support, which exposes surface flaws instead of hiding them.
Frequently Asked Questions
Q1: Can MDF trim be painted without any primer at all?
It is not recommended. Unprimed MDF absorbs paint unevenly between the face and any cut edges, which leads to a blotchy sheen and leaves cut ends vulnerable to moisture swelling over time.
Q2: How many coats of primer does MDF skirting board typically need?
Two coats is standard for most interior work, with a light sand between coats. A single coat can work on factory-primed lengths that only need touch-up at cut ends and joints.
Q3: Is it better to use acrylic primer or oil based primer for MDF edges?
Oil based primer generally seals raw cut edges more effectively in one application, while acrylic primer is faster to work with and lower odor on the flat faces. Many installers use both, matching the primer to the specific area being treated.
Q4: Does pre-primed trim still need an undercoat before painting?
Pre-primed trim usually only needs an undercoat if the topcoat color is significantly lighter than the factory primer tone, or if cut ends and fasteners need to be blended in before the final color coat.
Q5: How long should painted MDF trim cure before it can be cleaned?
Most water-based topcoats can handle light cleaning after about a week, while oil based topcoats generally need two to three weeks to reach a full cure hardness suitable for regular contact or cleaning.