 English
 Español
You have cut a length of MDF skirting board, fitted it into place, and opened your first can of paint. The brush touches the cut edge, and the paint is gone within seconds. The edge starts to swell and soften. This is the classic MDF priming problem, and it is why the choice of primer is the most important decision in the whole project.
For raw MDF board, a shellac-based primer is the best all-around choice because it dries quickly, blocks water and stain bleed-through, and seals the porous edges more effectively than any other type. A water-based acrylic primer is a close second, especially for factory-primed MDF mouldings that need a light sand and one or two topcoats.
Why MDF Board Needs Primer More Than Solid Wood
MDF is not solid wood. It is made from wood fibers mixed with resin and pressed under heat into dense, flat boards. The surface looks smooth, but it is actually a network of fine pores that behaves differently from a sawn timber surface. If you paint raw MDF without primer, the first coat is absorbed unevenly and the finish looks patchy, especially where the paint has soaked in more deeply.
The edges are worse. When a board is cut, the fibers at the cut edge are exposed in a way that makes them highly absorbent. The moment paint or water-based primer touches the edge, the fibers swell and the profile distorts. For a moulding that has a decorative shape cut into it, this swelling can destroy the crispness of the profile.
Primer solves this by sealing the surface. It fills the pores, controls absorption, and creates a uniform base that lets the topcoat sit evenly without sinking into the material. If you want to understand what MDF is made of, the density and the bonding process explain why the issue exists.
Another important point is moisture. MDF is sensitive to water. A wall in a bathroom, a kitchen splashback area or a skirting board near a floor that gets mopped can all expose the board to humidity. A moisture-resistant primer reduces the risk of the board swelling or the paint peeling later.
The Best Primer for MDF: Three Types Compared
Three primer families dominate the MDF conversation: water-based acrylic, oil-based alkyd and shellac-based. They behave differently on MDF, so your choice depends on the project, the surface condition and the environment.
| Primer Type | Drying Time | Best For | Main Drawback |
|---|---|---|---|
| Water-based acrylic | 30 to 60 minutes | Interior trim, quick projects, low odour | Raises MDF grain slightly; needs sanding between coats |
| Oil-based alkyd | 2 to 4 hours | High-moisture areas, exterior MDF | Slow drying, strong solvent smell |
| Shellac-based | 10 to 15 minutes | Sealing cut edges, blocking stains, priming raw MDF | Requires ammonia or alcohol for cleanup |
Shellac-based primer is the most reliable solution for the edges of MDF, and it is the standard recommendation from professional woodworkers who deal with the material daily. Because it penetrates and seals thoroughly, it prevents the edge-swelling problem from the start. The only downside is the solvent-based cleanup, but that is a minor cost compared to a ruined finish.
Water-based acrylic primer is the best option when odour and cleanup are your main concern. Many modern acrylic primers are formulated to be low-VOC and still bond well to MDF. They are also the correct first coat for MDF profiles that already come factory-primed, because they work with the existing primer layer rather than lifting it.
Oil-based alkyd primer still has its place in high-moisture areas, but its longer drying time and strong odour make it less common for interior trim work. If you choose oil-based, you need to allow enough ventilation and time between coats.
How to Prime MDF Board: Step-by-Step
The way you apply the primer is just as important as the type you choose. Here is the sequence that gives a smooth, factory-like finish.
- Sand the surface with 220-grit paper. Lightly sand the face and the cut edges to remove any manufacturing debris and to give the primer a key to grip.
- Vacuum and wipe the dust off. Use a tack cloth or a barely damp cloth to get the surface completely clean. Dust in the primer will show in the topcoat.
- Seal the cut edges with shellac primer. Apply one thin pass along every edge that has been cut. This is the step that prevents the edge from swelling and keeps the profile sharp.
- Apply the first coat of primer. Brush it on in thin, even strokes. For flat mouldings, a 6mm or 10mm nap roller gives a smoother result than a brush.
- Let it dry completely. Follow the manufacturer's dry time. Rushing this step traps solvent and causes the topcoat to wrinkle.
- Sand the primer with 320-grit paper. This removes brush marks, raised grain and dust nibs. The surface should feel as smooth as a polished egg.
- Apply the second coat if needed. Two thin coats always look better than one thick coat. Sand again lightly after the second coat.
Factory tip: For a flawless finish, always sand the primer lightly before the topcoat, even if the primer looks smooth. The micro-abrasion gives the paint a key to grip.
If you are planning to paint the profiles with a gloss or semi-gloss topcoat, this preparation is not optional. The primer controls the sheen. Skip the sanding stage and the topcoat will show every imperfection.
For a more detailed walk-through of the full process, including how to handle painting MDF mouldings, our guide covers the undercoat and topcoat stages as well.
Common Primer Mistakes on MDF
The following mistakes appear in almost every project that ends with a rough, uneven or peeling finish on MDF.
- Skipping the primer entirely. MDF paint without primer is never satisfactory. The first coat soaks in unevenly, the edges swell and the topcoat does not bond properly.
- Applying one thick coat instead of two thin coats. A thick primer coat looks wet and glossy while it dries, but it forms a soft film that shrinks and shows the grain later.
- Sanding too aggressively. 220 grit for the raw board and 320 grit for the primer is enough. Grinding the surface with coarse paper will scratch the fibres and create visible score marks.
- Forgetting to prime the edges. Cut edges are the most porous part of an MDF board. If they are not sealed, they will show a different sheen from the face once the topcoat is on.
- Using an exterior weatherproof wood primer on interior MDF. Some exterior primers are too oily for MDF and can wrinkle under a water-based topcoat.
Factory-Primed MDF: When the Priming Step Is Already Done
One of the biggest time-savers in the industry is factory-primed MDF trim. Instead of buying raw MDF and doing the entire priming routine yourself, you can purchase profiles that have already been coated with a filler primer in the factory. This is common in moulding manufacturing because it allows the fabricator to control the priming conditions and the drying time.
A factory-primed profile is not fully painted. It still has a primer layer, typically a white filler primer, that has been sanded and is ready for the final topcoat. This means you can skip the entire priming section of the job and move straight to sanding with 320 or 400-grit paper and applying your topcoat. It saves hours on a project with multiple lengths of skirting or crown moulding.
There is one important question to ask when you buy factory-primed MDF: what type of primer was used? If the factory used a water-based acrylic primer, you need to make sure your topcoat is compatible. If the profile has a solvent-based primer, the topcoat must be chosen accordingly. Compatibility issues can cause the paint to crack or peel.
For the project that needs a finished look without the hassle of priming, here are a few examples of factory-primed MDF profiles:
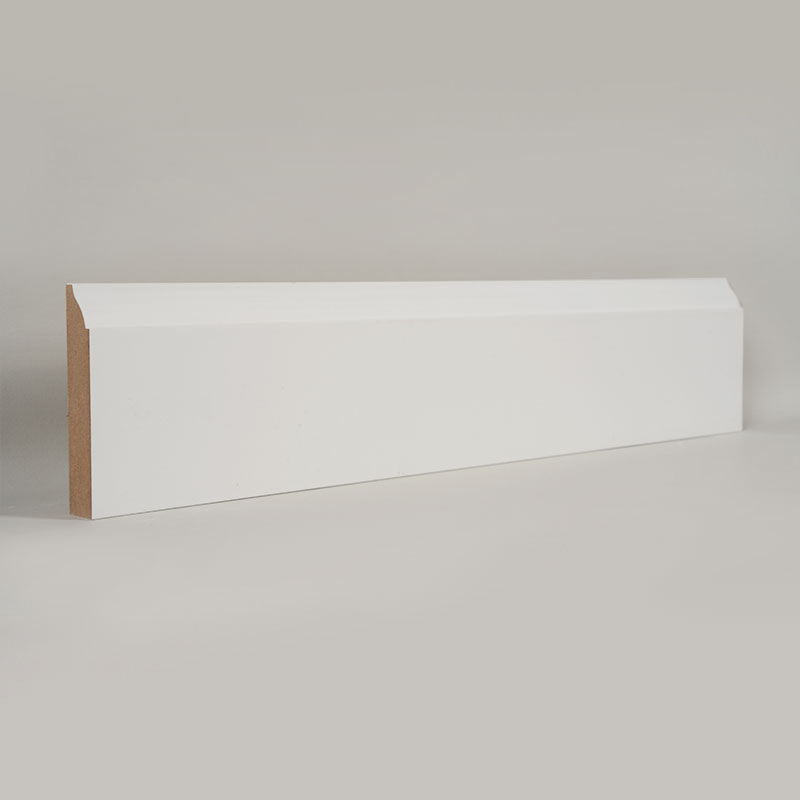
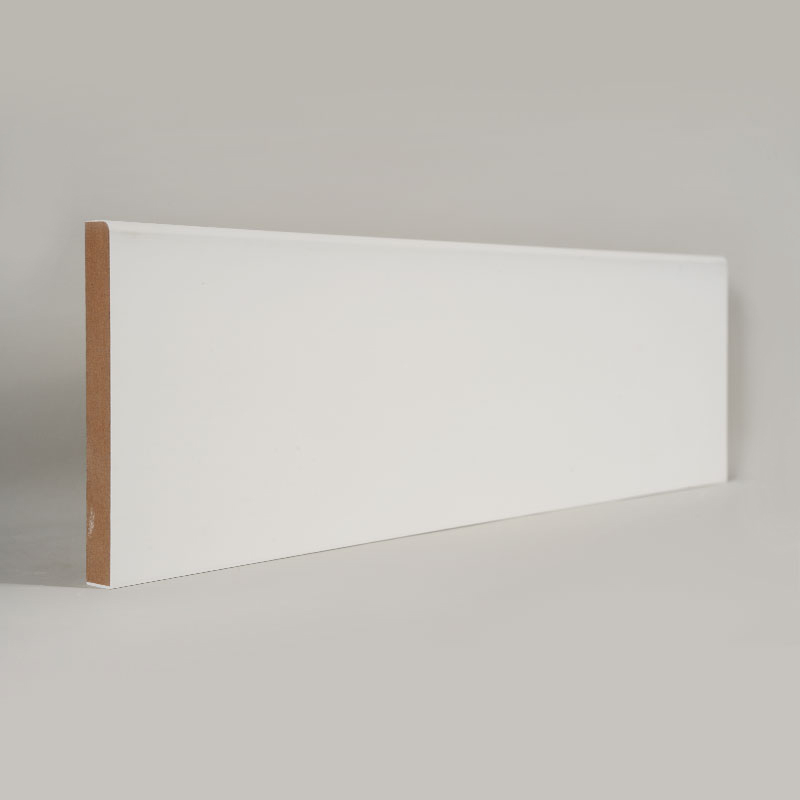
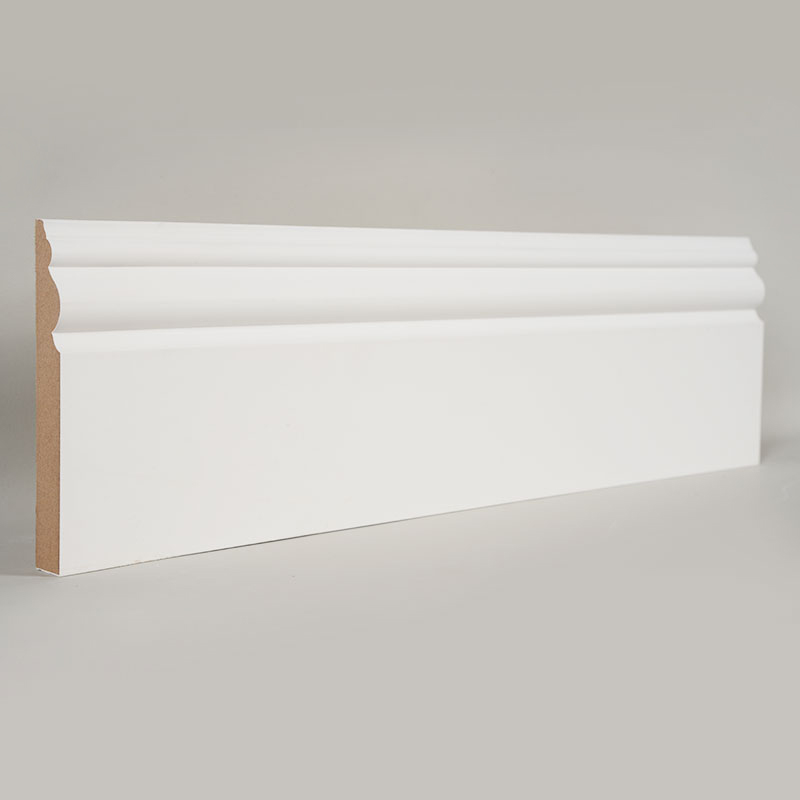
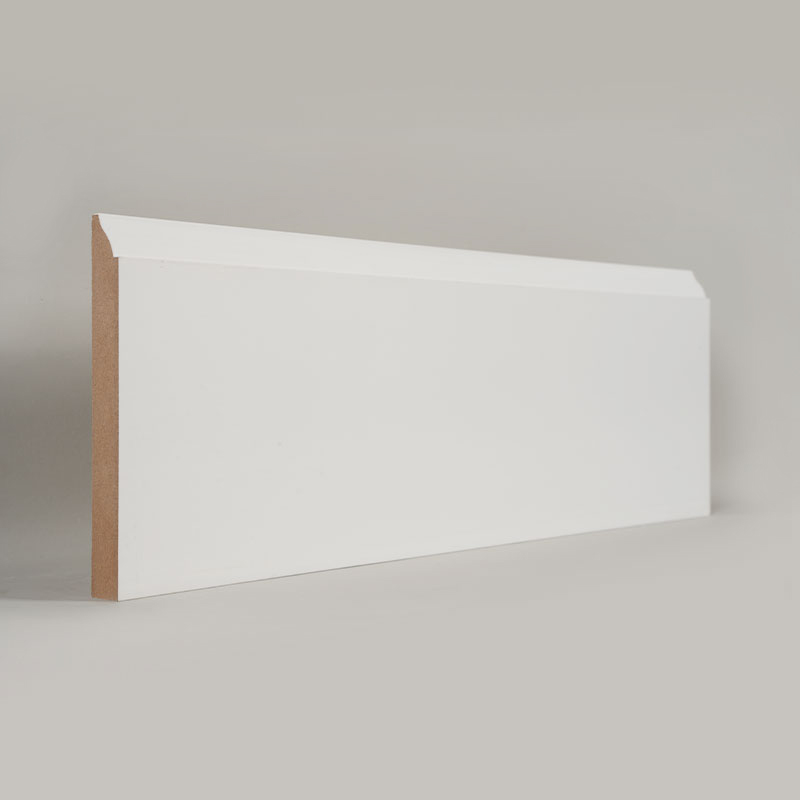
Filler-primed MDF skirting board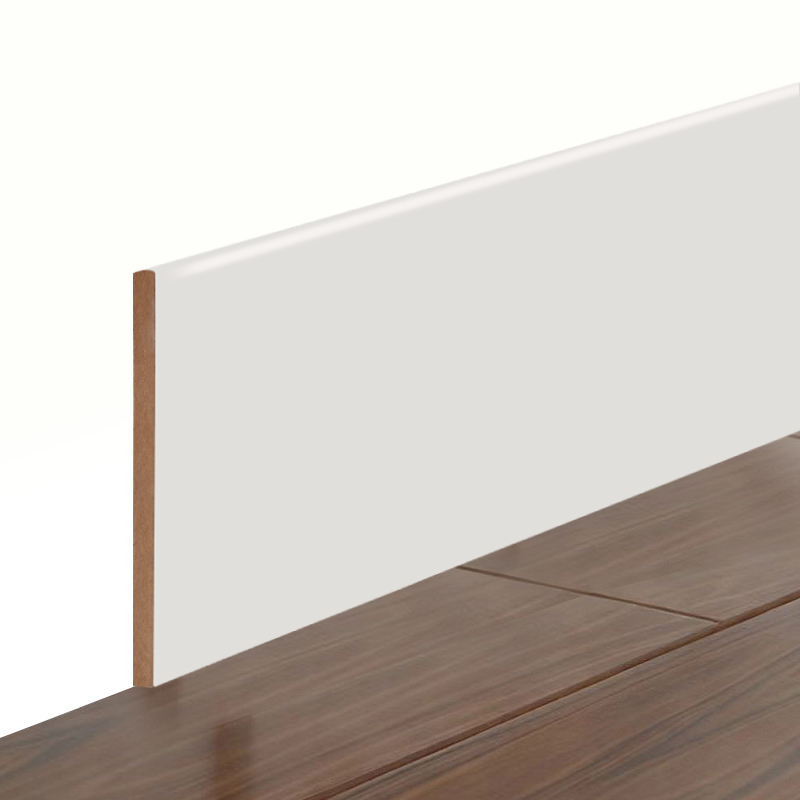 Filler-Primed MDF Skirting Board with Pearl White FinishFactory-primed MDF skirting board with a pearl white finish, ready for topcoat. Simplifies installation by eliminating the need to apply primer to raw MDF, saving time on interior trim projects.View Product →
Filler-primed MDF crown moulding
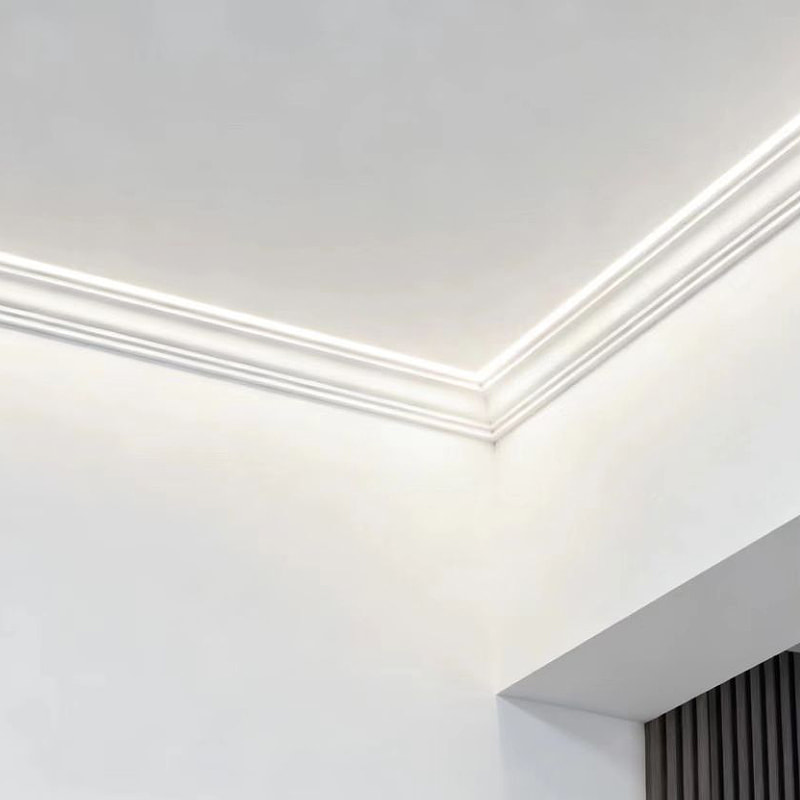 Filler-Primed MDF Crown Moulding with Pearl White SurfacePearl white crown moulding on a high-density MDF core, pre-primed to reduce prep work. Its durable coating resists cracks and moisture, making it a practical choice for finishing wall-ceiling joints.View Product →
Filler-primed MDF quarter round moulding
 Filler-Primed MDF Quarter Round Moulding in Pearl WhiteQuarter round moulding with a filler-primed pearl white finish, designed to cover gaps and protect corners. Its rounded profile eases installation at inside and outside corners, speeding up finishing work.View Product →
These profiles still need a light sand before the topcoat, but they are a practical choice when you are short on time and want to avoid the risk of applying the wrong primer to raw MDF.
Frequently Asked Questions About Priming MDF
Q1: Can I use water-based primer on MDF?
Yes. Water-based acrylic primer works on MDF, but it will raise the grain slightly. You need to sand with 220-grit paper before the primer and with 320-grit after the first coat to keep the surface smooth.
Q2: How many coats of primer does MDF need?
For raw MDF with a shellac or oil-based primer, two thin coats are best. For factory-primed profiles, one light sand and a single coat of primer may be enough before the topcoat.
Q3: Do I need to prime both faces and all edges?
Yes. The front and back faces of an MDF board are pressed and sanded, but they still need primer. The edges are the most thirsty part and should always be sealed.
Q4: What is the best primer for MDF edges?
Shellac-based primer is the best choice for MDF edges. It dries fast, seals the fibres, and prevents swelling better than water-based or oil-based primers.