 English
 Español
Before you pick up a brush, it is worth understanding one thing: MDF is not a piece of solid wood. If you treat it like pine or oak, you will see patchy absorption, rough fibres at the edges and a finish that does not last. The good news is that MDF board can be painted to a high standard, and the process is actually quite predictable.
The secret is in four steps: sand the edges carefully, seal those edges, apply a dedicated MDF primer, and then build the finish with thin coats of a quality topcoat. In this guide, we will walk through each step in the order you should do it, whether you are upgrading skirting boards or building a piece of furniture.
Why MDF Needs a Different Painting Approach
Medium-density fibreboard (MDF) is made by combining wood fibres with resin and pressing them into dense sheets. It is uniform, smooth and free of knots, which is why it is so widely used for skirting boards, crown mouldings, wall panels and door trim. But the same uniform structure behaves differently from solid wood when paint meets the surface.
Two properties matter most. First, the cut edges are more porous than the faces. If you paint a saw-cut edge directly, the paint soaks in unevenly and the fibres swell. Second, the manufacturing process can leave a thin release agent on the surface. This outer layer is not designed to accept paint without a barrier. Together, these two factors explain why edge sealing and priming are not optional extras.
Preparing MDF: Sand, Seal and Clean
Start with 120-grit sandpaper. Work over the full surface, then spend extra time on any cut edges. Avoid coarse grits like 80, which will leave visible scratches that show through the final paint. Once the surface is smooth, repeat with 220-grit sandpaper.
The next step is edge sealing. Cut edges need to be sealed before any primer touches them. A common and reliable approach is to apply a spackling compound or lightweight wood filler along the edges. Let it dry, then sand it smooth with 220-grit paper. Another method that works well is to brush on a 50:50 mix of wood glue and water, let it soak in, and then sand after drying. Either method stops the edge from acting like a sponge.
Finally, remove the dust. Use a vacuum with a brush attachment, then wipe the surface with a clean cloth dampened with mineral spirits or diluted alcohol. Keep the cloth barely damp. MDF can swell if it gets wet, so do not scrub the surface with a soaked rag.
Priming: The Step You Should Never Skip
Priming is the backbone of the whole job. MDF will absorb latex paint quickly and unevenly if it is not sealed first. A primer closes the pores, creates a uniform texture and gives the topcoat something stable to bond with.
There are two practical primer options. Solvent-based (oil) primers are excellent on MDF because they penetrate the edges and seal the fibres well. Water-based primers made specifically for MDF also work and have much lower odour. What matters is that the product clearly states it is suitable for MDF. A standard wood sander-sealer may not be enough.
Apply the primer with a high-quality synthetic brush. Work it into the edges first, then brush across the face. Keep the coat thin. MDF does not handle a heavy first coat well, and runs and sags are easy to create. Two thin coats are better than one thick one. Let the first coat dry to the touch, lightly sand with 220-grit and wipe clean. Then apply the second coat and repeat that sanding step. You should now have a smooth, sealed surface ready for the topcoat. For a deeper look at the variables involved, see our field-tested guide on painting MDF mouldings.
Key point: no primer equals a patchy, uneven finish. No edge sealing equals rough, swollen fibres. Two thin coats are worth more than one heavy coat.
Primer at a glance
| Primer Type | Edge Sealing | Drying Time | Cleanup | Best Use |
|---|---|---|---|---|
| Oil-based primer | Excellent | 1-2 hours per coat | Mineral spirits | Edges, high-risk areas |
| Water-based MDF primer | Good | 30-60 minutes per coat | Soap and water | General interior trim |
Painting MDF Mouldings and Stair Nosing in Practice
The same principles apply whether you are painting a skirting board, a crown moulding or a stair nose. The trick is to match the finish to the use.
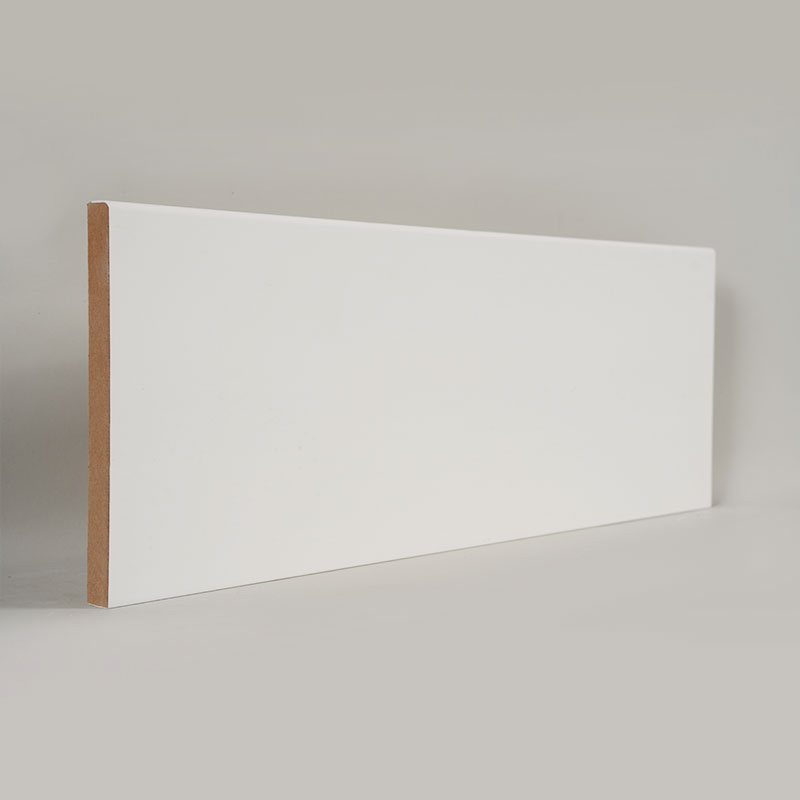
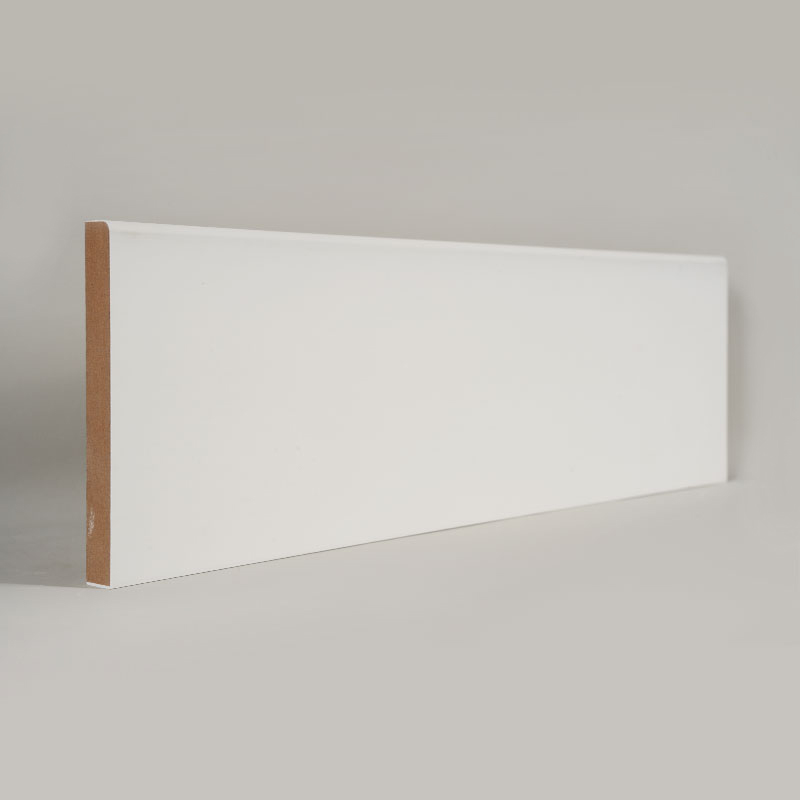
Skirting boards face daily contact with feet, mops and cleaning products. A semi-gloss or satin topcoat is a practical choice because it balances a smooth look with easy cleaning. A factory-primed MDF skirting board, like this one, already arrives with the primer applied. After cutting, you only need to seal the cut edges and add the final coat. factory-primed MDF skirting boards are available in common standard sizes, which saves time on site.
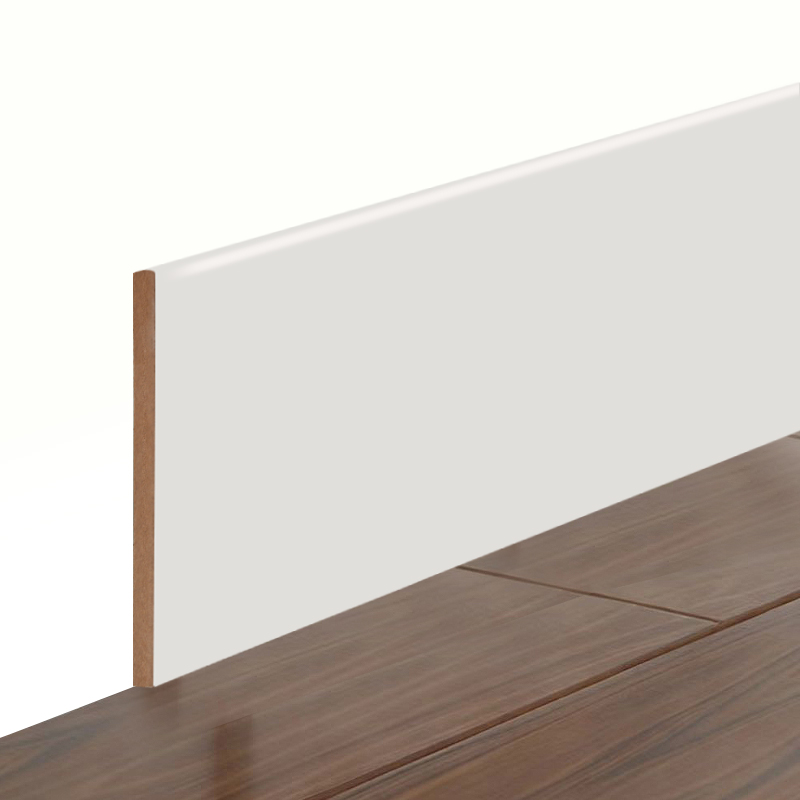 Filler-Primed MDF Skirting Board with Pearl White FinishThis factory-primed MDF skirting board provides a smooth, ready-to-finish surface for baseboard installations. Its stable core and standard profile suit both residential and light commercial projects, while the primer reduces on-site prep time, making it a practical choice for quick, clean results.View Product →
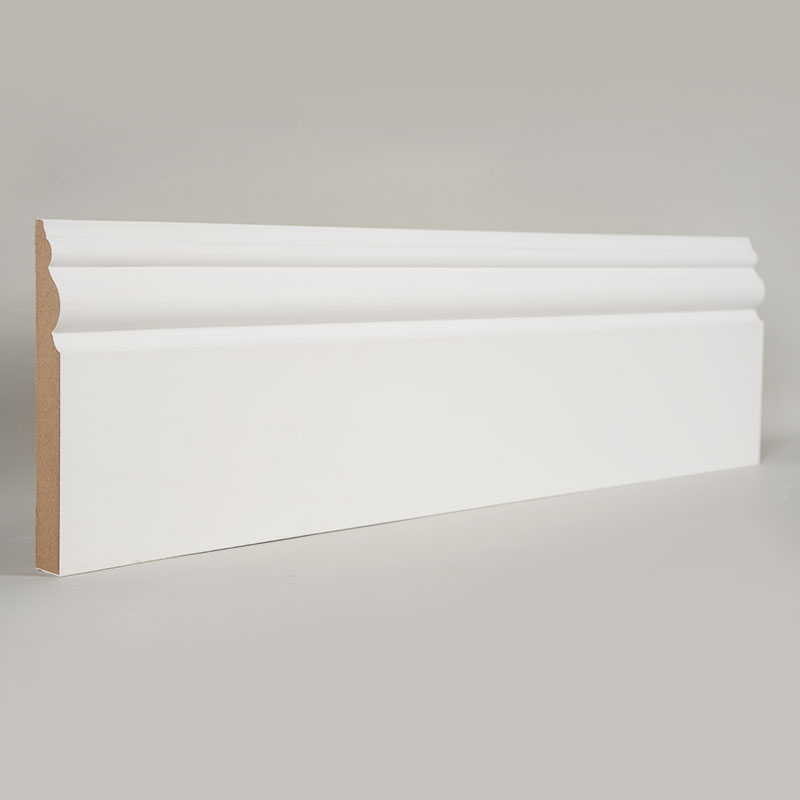
Crown mouldings sit in a visually exposed position. Light from windows and ceiling fixtures will reveal any unevenness in the surface. Be especially careful with sanding and priming on these pieces. A white-primed MDF crown moulding is a sensible option, because the factory primer is already in place and you are simply finishing it on site. MDF crown moulding in white-prime gives you a consistent starting surface for the final coat.
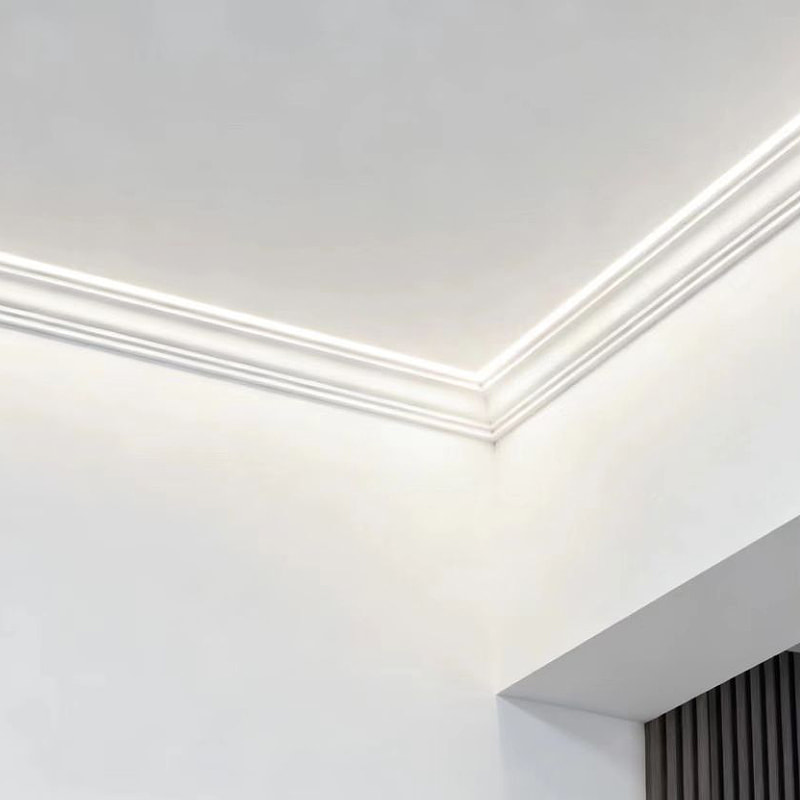 White-Primed MDF Crown Moulding for Interior FinishingThis filler-primed MDF crown moulding offers a consistent, smooth surface that hides imperfections and simplifies finishing. Its precise profile covers wall-ceiling joints and adds a decorative touch, while the factory primer saves time on site, ensuring a neat, professional look with minimal effort.View Product →
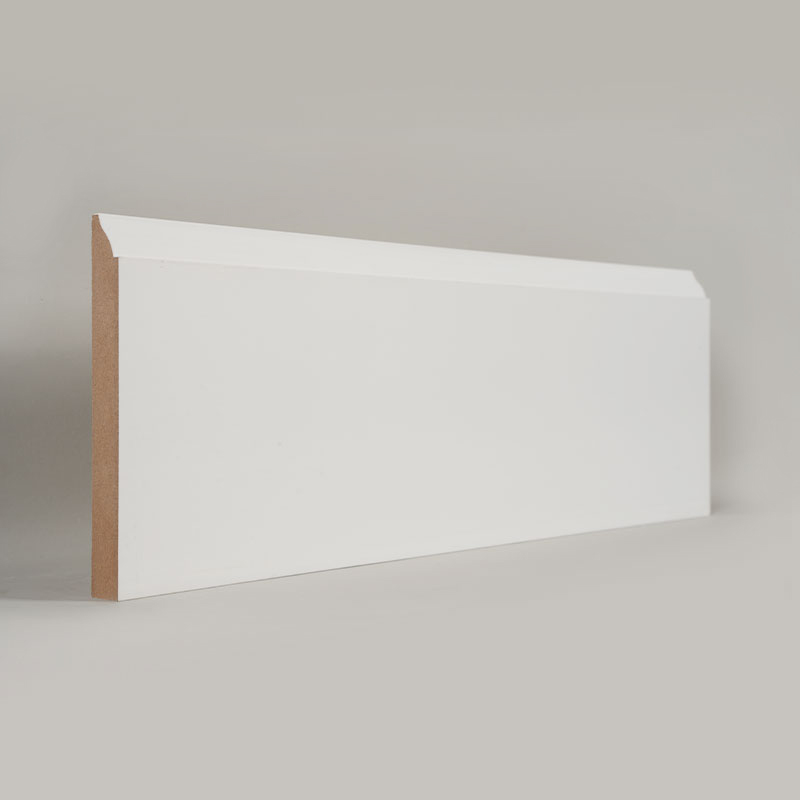
Stair nosings take even more abuse. The edge of a step is where shoes scuff and where moisture may collect. Apply an extra coat of edge sealer and use a strong topcoat, such as an alkyd or high-sheen acrylic. If you prefer to avoid a two-stage job, a PVC-wrapped MDF stair nosing offers a factory-finished surface with a tougher wear layer. PVC-wrapped MDF stair nosing performs well in busy households because the wrap is already sealed and does not need painting.
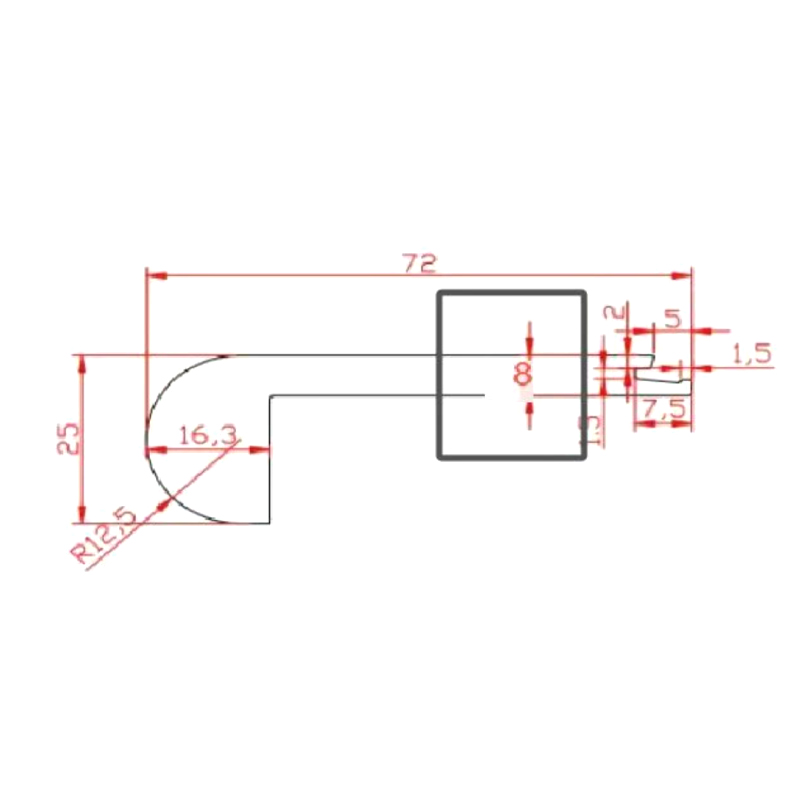 PVC-Wrapped MDF Stair Nosing in Custom ColorsThis PVC-wrapped MDF stair nosing delivers a durable, factory-sealed surface that resists wear and moisture without needing paint. Available in custom colors, it protects stair edges while blending with decor, making it a strong choice for high-traffic areas in busy homes or commercial spaces.View Product →
Choosing a Topcoat and Applying It Correctly
For interior MDF, your choice is usually between acrylic latex and alkyd enamel. Acrylic latex is easy to work with, dries quickly, cleans up with water and has low odour. It is the logical choice for most decorative trim and internal mouldings.
Alkyd (oil-based) enamel is harder and more durable. It resists scuffs and knocks better than latex, and it creates a deeper, smoother appearance. The trade-offs are stronger fumes, slower drying and cleanup with solvents. For skirting boards, stair parts and other areas that see physical wear, an alkyd semi-gloss or gloss is a strong choice.
Whichever paint you choose, application technique matters. Brush along the length of the board and always keep a wet edge to avoid visible overlap marks. Use thin coats and do not try to cover everything in one pass. Let each coat dry fully, then lightly sand with 220-grit paper and wipe away the dust before applying the next layer.
Common Mistakes to Avoid
- Skipping primer. MDF will absorb paint unevenly and the edges will look patchy.
- Painting bare cut edges without sealing. The fibres swell and the finish is rough.
- Using coarse 80-grit sandpaper. Scratches will appear through the paint.
- Applying thick coats. Drips, runs and uneven drying are the result.
- Choosing a wood primer without confirming it is suitable for MDF.
- Sanding aggressively between coats. You can cut down into the primer or topcoat.
Frequently Asked Questions About Painting MDF
Q1: Can you paint MDF without primer?
You can, but the finish is usually poor. Primer is essential for a smooth, even result. Without it, the paint absorbs into the fibre and the surface looks blotchy.
Q2: What is the best primer for MDF?
An oil-based or solvent-based primer is excellent at sealing cut edges. A water-based MDF-specific primer is also reliable, with lower odour and easier cleanup.
Q3: How do I stop MDF edges from swelling?
Seal the edges before priming. A diluted wood glue mix (1:1) or a thin layer of spackle on the cut edge works well. Sand dry, then prime. This must happen before any paint reaches the board.
Q4: Is oil-based or water-based paint better for MDF?
For durability on skirting, trim and stair parts, oil-based enamel is stronger. For a quick, low-odour finish with easy cleanup, acrylic latex is fine for most decorative areas.
Q5: Should I sand between coats?
Yes, but lightly. Use 220-grit paper between primer and topcoat. Light sanding helps the next coat bond and removes raised grain. Be careful not to sand too hard or you may cut through the primer.
Painting MDF board successfully is not about buying the most expensive paint. It is about respecting the material. Sand the edges, seal them, prime with a suitable primer, and build the finish in thin, even coats. When you do this, MDF rewards you with a smooth, durable surface that will look good for years.