 English
 Español
Why Fitting Skirting Boards Is Not Just a Weekend Glue Job
When you replace flooring, refit an extension, or decorate a room, fitting skirting boards is usually the final detail that separates a tidy finish from a wobbly one. The biggest mistake is buying the wrong board and only discovering it when the first cut starts to splinter. Let me save you that disappointment: if you know how the board will be fixed, what thickness is right for your wall, and whether you can scribe a practical joint, the process becomes predictable.
In practice, fitting skirting boards comes down to four steps: choose the material, prepare the wall, cut the joints, and fix the board. Each has a clear standard, and this guide explains them in the order you will use them.
Choosing the Right Skirting Board Material Before You Cut
You have four broad choices: MDF, pine, solid hardwood, and PVC wrapped profiles. For a painted finish in a dry living space, MDF is the most stable. It does not expand and contract as much as real timber, so mitre joints stay tight. Pine is lighter and easier to screw, but it can warp if stored in a damp room. Solid wood, especially oak or walnut, gives the richest look but must be fixed carefully because wood movement can open a joint.
| Material | Best for | Key fitting advantage | Potential risk |
|---|---|---|---|
| MDF (primed) | Straight walls in dry rooms | Stable profiles and cheap to cut | Absorbs moisture if cut edges are not sealed |
| Pine (primed) | Painted projects with stud walls | Light and easy to screw | Soft face dents easily |
| Solid wood (oak / walnut) | Period interiors and stained finishes | Durable and elegant | Wood movement can open mitres |
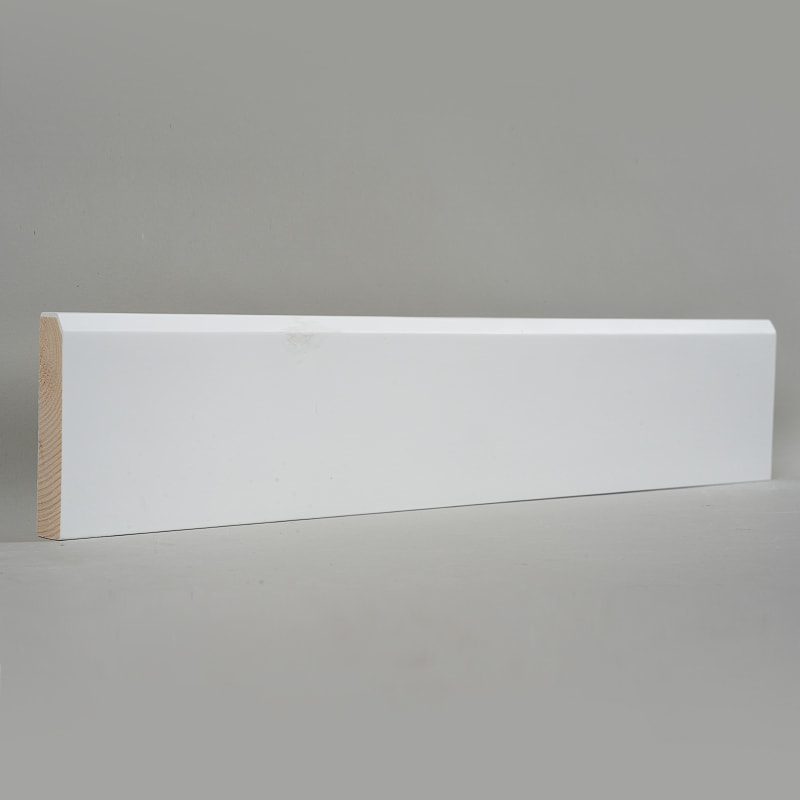
For most DIY and renovation projects, MDF skirting boards with a pearl white primer finish are the safest starting point. They are dense enough to take adhesive and screws, and the primed surface cuts cleanly without tearing.
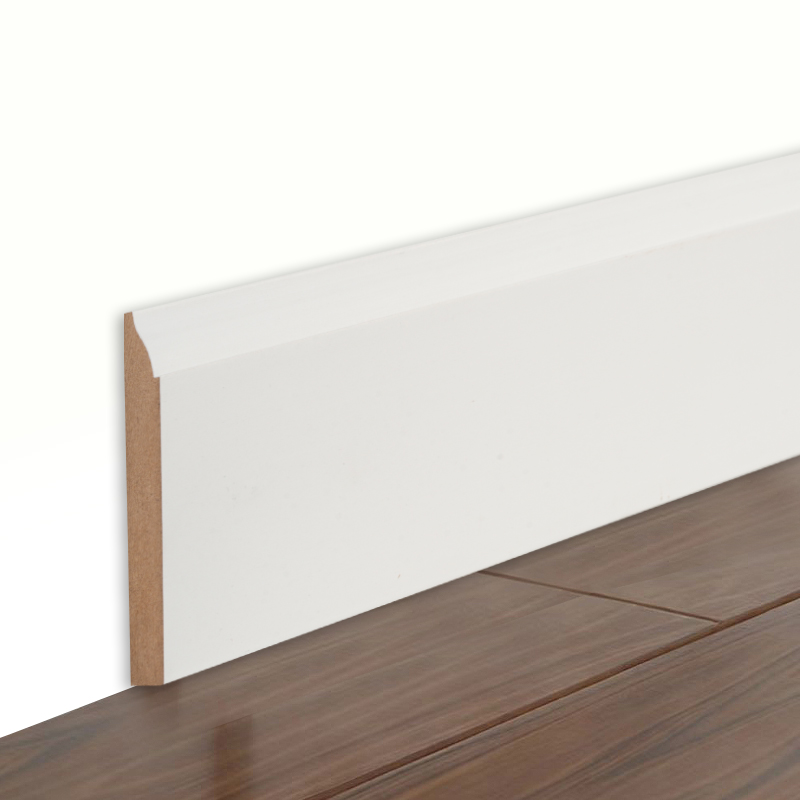 MDF Skirting Board with Pearl White Primer FinishThis primed MDF skirting board suits most DIY and renovation projects, offering a dense, clean-cutting surface that accepts adhesive and screws, making it a reliable starting point for wall base installation.View Product →
Measuring and Preparing the Wall
Before you cut anything, inspect the wall. Use a long spirit level and a straightedge to find high spots. Skirting boards will follow wall contours, so if the wall bows, the board will bow too. A 3 mm gap behind the top edge is usually acceptable, but anything more than 5 mm will show. For most rooms, start at the left-hand side of the door and work anti-clockwise around the room, as this keeps the awkward scribed cuts in internal corners for last.
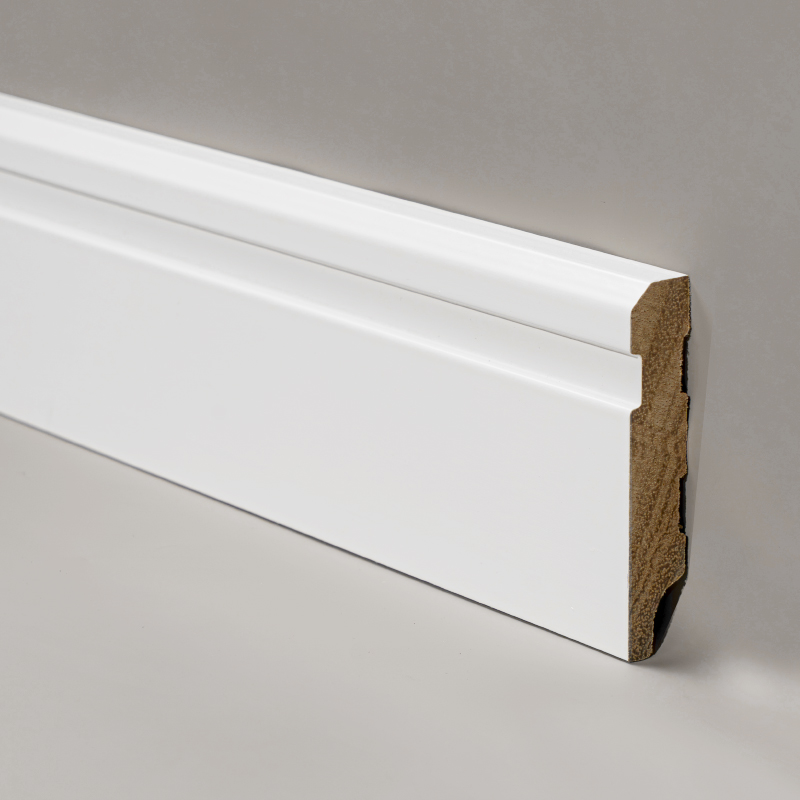
If you are unsure whether you need a slim flush profile or a tall Victorian detail, this overview of different skirting board types can help you match the style to your wall condition.
Cutting Mitre and Scribe Joints for Internal and External Corners
Internal corners are not cut at 45 degrees; they are scribed. Cut the first board square and push it into the corner. Then cut the second board's profile by coping it with a coping saw. Mark the profile from the first board and undercut about 2 mm to allow for expansion. External corners are the opposite. Set the mitre saw to 45 degrees and cut both boards, then check the fit. If the wall is out of square, adjust the angle by 1 or 2 degrees rather than forcing the joint.
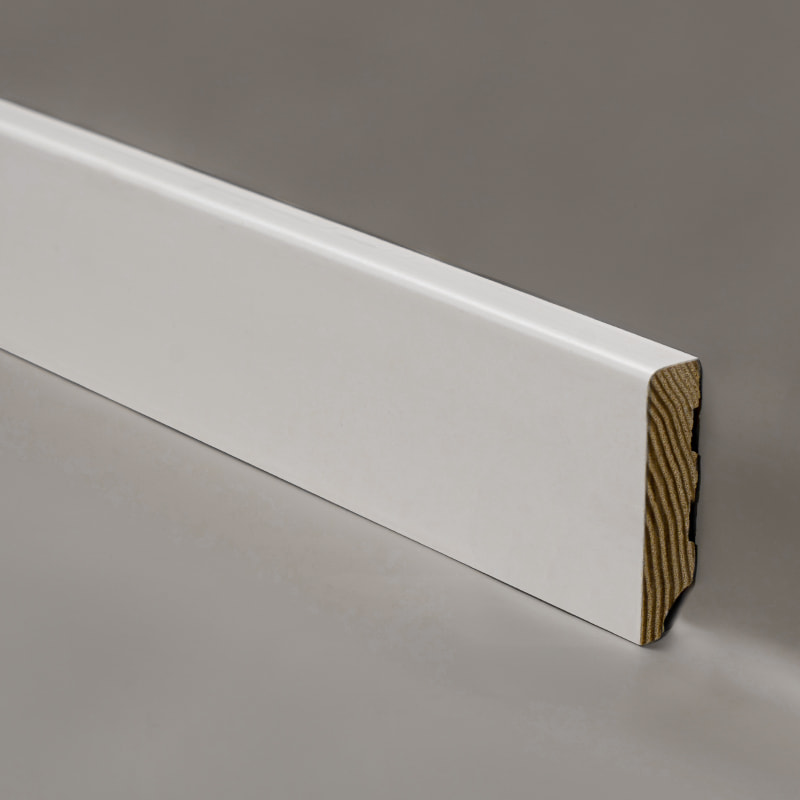
When using pine, the softer grain makes scribing easier and more forgiving. For painted pine projects, pine skirting boards with a fillerprimed pearl white finish are the best option if you plan to nail through the face and fill afterwards.
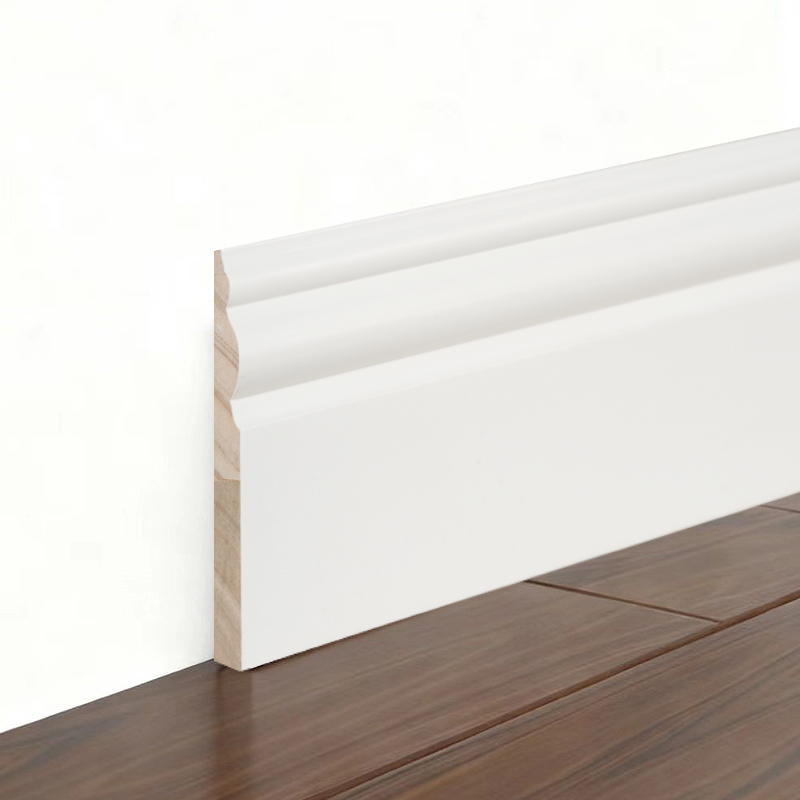 Pine Skirting Board with Pearl White Primer FinishSoft pine grain allows easy scribing and forgiving adjustments, ideal for nailed and filled installations. The primed pearl white finish simplifies painting and provides a clean, versatile look for various interiors.View Product →
Fixing Skirting Boards Securely with Adhesive, Screws, or Nails
The fixing method depends on the wall type. On plasterboard, use low-expansion adhesive and screws into studs. On brick or block, drill pilot holes, insert wall plugs, and drive screws every 600 mm. Never rely on adhesive alone on a brick wall; moisture can lift the adhesive as the board moves. Apply a continuous bead of flexible adhesive on the back, but use mechanical fixings to hold the board while the adhesive cures.
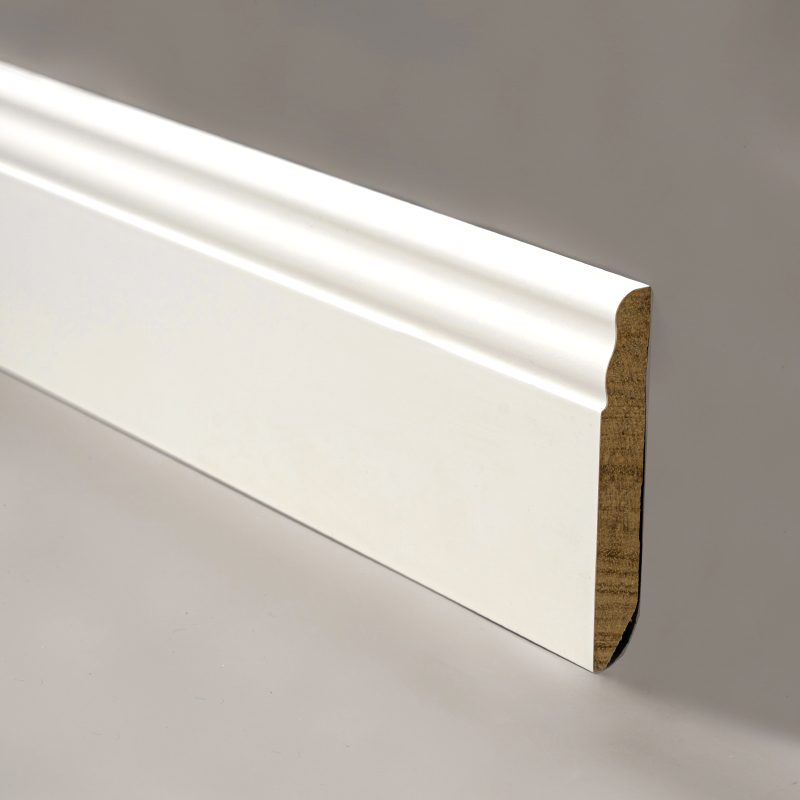
For solid oak, drill pilot holes first to avoid splitting. Solid wood skirting boards with a red oak paint finish need extra care around the ends, where oak is most likely to split.
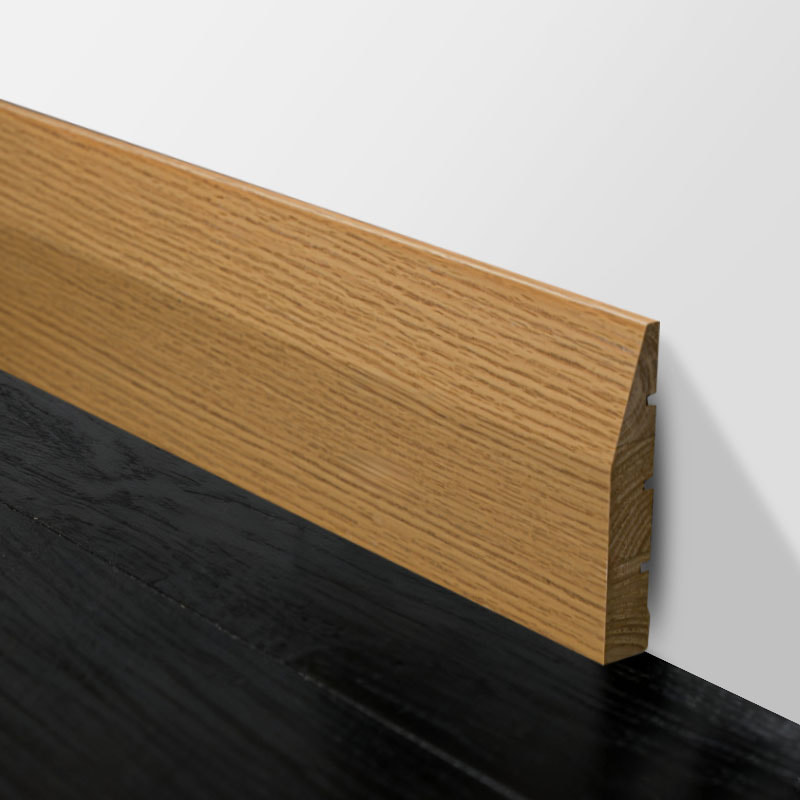 Red Oak Veneer Wrapped Solid Wood Skirting BoardThis solid wood skirting board with red oak veneer adds warm, natural aesthetics. Its durable construction resists deformation, but pre-drilling pilot holes is essential to prevent splitting, especially near ends.View Product →
Finishing Touches: Caulk, Filler, and Smooth Transitions
After fixing, caulk the top edge to the wall and the bottom edge to the floor. Use painters' caulk, not silicone, so it can be overpainted. Fill screw holes and nail head depressions with a wood filler that matches the primer. If you are joining two boards in a straight run, use a scarf joint at 22.5 degrees rather than a butt joint, so a small movement is not visible. Sand lightly with 220 grit before painting.
Frequently Asked Questions about Fitting Skirting Boards
Q1: Should I use adhesive or screws?
Use both. Adhesive holds the board to the wall, while screws ensure it stays put while the adhesive cures. For a solid wall, space screws at 600 mm centres.
Q2: Do I need to remove old skirting boards?
It depends on the wall condition. If the old board is sound and the wall is flat, you can leave it and fit a new profile over it. But on a damp wall or a wall with exposed cables, strip back to the plaster.
Q3: What is the best height for skirting boards?
There is no single best height. A 90 mm to 120 mm profile suits most modern rooms. A Victorian house looks better with a 150 mm or taller profile. The key is to keep the height consistent around the room, even if the ceiling is not level.