 English
 Español
You have finished painting the room and are ready to install the skirting boards. The first three pieces go in perfectly. Then you reach the corner, cut two 45-degree ends, and hold them together only to find a gap at the front that would let a coin slip through. A clean mitre corner is not about luck. It is about accurate measurement, a stable cutting setup, and the habit of making a test cut before you commit to the final piece. With the right technique, you can produce mitre joints that look like a single continuous run of trim.
The key to a clean mitre corner: measure the actual corner angle, divide it by two, set your saw to that angle, and always make a test cut on scrap trim before cutting the real piece.
What a Mitre Corner Is and Why It Matters
A mitre corner, or mitre joint, is where two pieces of trim are cut at complementary angles and joined to form a 90-degree corner. For a standard corner, each piece is cut at 45 degrees. The combined angle of the two cut edges equals the corner angle. A mitre joint differs from a butt joint, where one piece simply runs into the side of another. Mitre joints are the standard for skirting boards, crown mouldings, quarter round mouldings, and door or window casings because they hide the end grain and create a clean, continuous line.
The biggest reason mitre corners go wrong is that most walls are not perfectly square. An interior corner that looks like 90 degrees might actually be 87 degrees or 93 degrees. Cut both pieces at 45 degrees and the joint will open up at the front or the back. This is why the first step in any mitre corner project is not to trust the corner, but to measure it.
Tools and Materials for Cutting a Mitre Corner
Before you cut anything, make sure you have the right tools and materials for the job. The quality of your mitre corner depends as much on the saw and blade as it does on your technique.
| Tool | Best For | Accuracy | Key Consideration |
|---|---|---|---|
| Sliding mitre saw | Crown moulding, long skirting boards | High | Set miter and bevel angles carefully; use a fine-tooth blade |
| Hand mitre box | Quarter round, small trim profiles | Medium | Cuts slower but works without power; keep the saw straight in the slots |
| Coping saw | Inside corners on painted trim | Medium | Used for coped joints where a mitre is tricky; cut the profile with the blade |
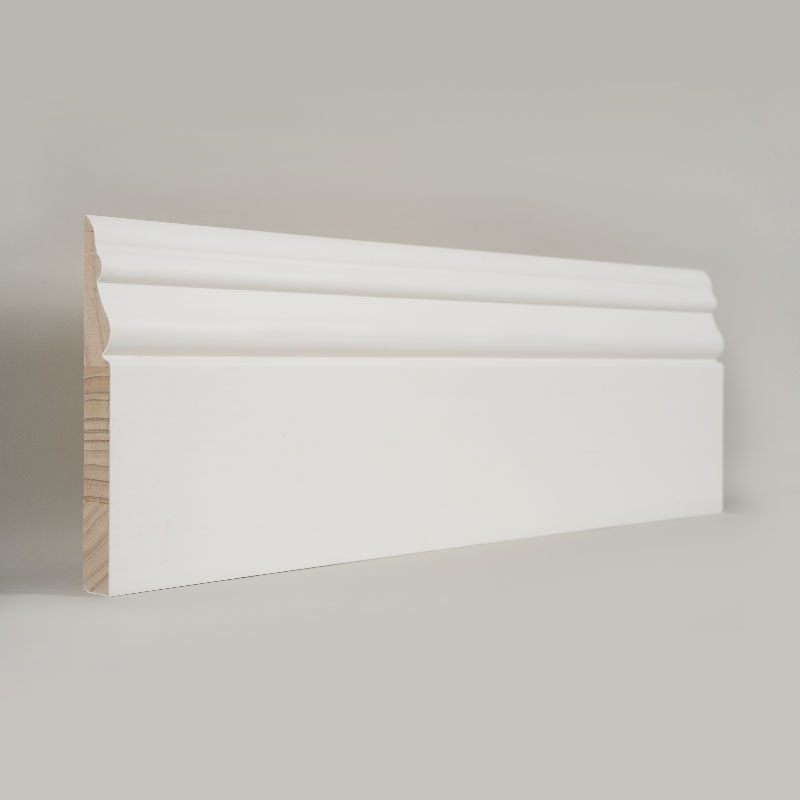
On the material side, the trim you choose affects how cleanly the saw cuts. MDF (medium-density fibreboard) cuts cleanly with a fine-tooth blade and holds a sharp edge, which makes it one of the most forgiving materials for mitre work. Pine is light and easy to cut, but the grain near the ends can tear out if the blade is dull. Solid wood mouldings need a slower, careful cut to avoid chipping. Many installers choose pre-primed trim for mitre corners because the primer protects the cut edges from moisture. For skirting, white primed pine skirting boards are a popular choice that cuts reliably and accepts paint well.
 Primed Pine Skirting Board for Clean Mitre CutsThis filler-primed pine skirting board offers a smooth, moisture-resistant surface that cuts cleanly and accepts paint well, making it ideal for mitre corners in skirting installations.View Product →
Step-by-Step: How to Cut a Mitre Corner
1. Measure and Mark the Length
Measure the length of the trim from the existing corner to the new corner. For an inside mitre, the long point of the cut is at the wall; for an outside mitre, the short point is at the wall. Mark the length on the back of the trim or write it on the face that will be hidden after installation.
2. Set the Saw to the Correct Angle
For a standard 90-degree corner, set the saw to 45 degrees. If the corner is not square, measure the actual angle and divide by 2. For example, a corner that measures 88 degrees requires cuts at 44 degrees each. Keep in mind that most mitre saws set the miter angle from the blade's zero position, and you need the correct side of the blade to cut the correct end of the trim.
3. Make a Test Cut
Before you cut the actual piece, find a scrap piece of the same trim and make a test cut. Check the angle by holding the two cut ends against the corner. This step costs 30 seconds and saves you from ruining an expensive length of moulding.
4. Cut Both Pieces
Clamp the trim firmly against the saw fence. Cut the first piece, then move to the second piece. For a true mitre corner, the second cut is the mirror of the first. If you are using a single-bevel mitre saw, keep the trim on the same side and change the angle. If you are using a dual-bevel saw, it is easier to keep the trim face down and cut from the same side.
5. Dry-Fit and Adjust
Hold the two cut pieces together at the corner. Check for gaps at the front and back. Small gaps can often be closed by sanding the cut face slightly or by applying a thin layer of wood filler after installation. If the gap is significant, re-cut the angle or tighten it by adjusting the saw by a fraction of a degree.
How to Handle Corners That Are Not 90 Degrees
Real corners in older homes and even in new construction are rarely a perfect 90 degrees. To cut a mitre that fits a corner perfectly, you need to know the true angle of the corner.
An angle finder is the simplest tool. Place the two legs of the tool against the walls, read the angle, and divide it by 2. Set the saw to that number and cut both pieces. For an inside corner, use the same angle for both pieces. For an outside corner, you will cut the pieces in the opposite direction.
If you do not have an angle finder, use the two-scrap method. Take two thin strips of wood and hold them against the corner to trace the angle, then transfer that trace to paper and measure it with a protractor. This method is slower but gives you an accurate angle without buying a tool.
Common Mitre Mistakes and How to Fix Them
- Cutting the wrong end. Always check which side of the trim needs the cut. A common mistake is cutting the right angle on the wrong end, leaving you with an unusable piece.
- Using a dull blade. A dull blade tears the fibres, especially in MDF and pine. Use a fine-tooth blade and replace it when cutting quality drops.
- Not supporting long trim. Long skirting boards and crown mouldings are heavy. If the trim is not supported, it can flex during the cut, producing an inaccurate angle.
- Ignoring paint thickness. If you plan to paint after installation, the paint will add about 0.02 inches to each surface. Cut the mitre slightly on the tight side, and the paint will close the small gap. For pre-finished trim, the fit must be exact.
Choosing the Right Moulding for Clean Mitre Joints
The trim profile and material you choose have a big impact on how easy it is to get a clean mitre corner. Narrow profiles like quarter round are easier to cut than wide skirting boards because they produce less surface area for a gap to show. For skirting boards, a taller profile needs a longer miter, which means more room for error. MDF is the most forgiving material for mitre joints because it cuts cleanly and does not split along the grain. Pine is also a good choice but requires a sharp blade and a firm feed. Solid wood trim gives the most natural look but demands the most care.
| Material | Mitre Difficulty | Best Blade | Cut Quality |
|---|---|---|---|
| MDF | Easy | Fine-tooth, 60-80 teeth | Clean edge, no tear-out |
| Pine (softwood) | Moderate | Crosscut or finish blade | Can tear near ends, needs sharp blade |
| Solid wood (oak, walnut) | Harder | Slow feed, high tooth count | Clean but requires care to avoid chips |
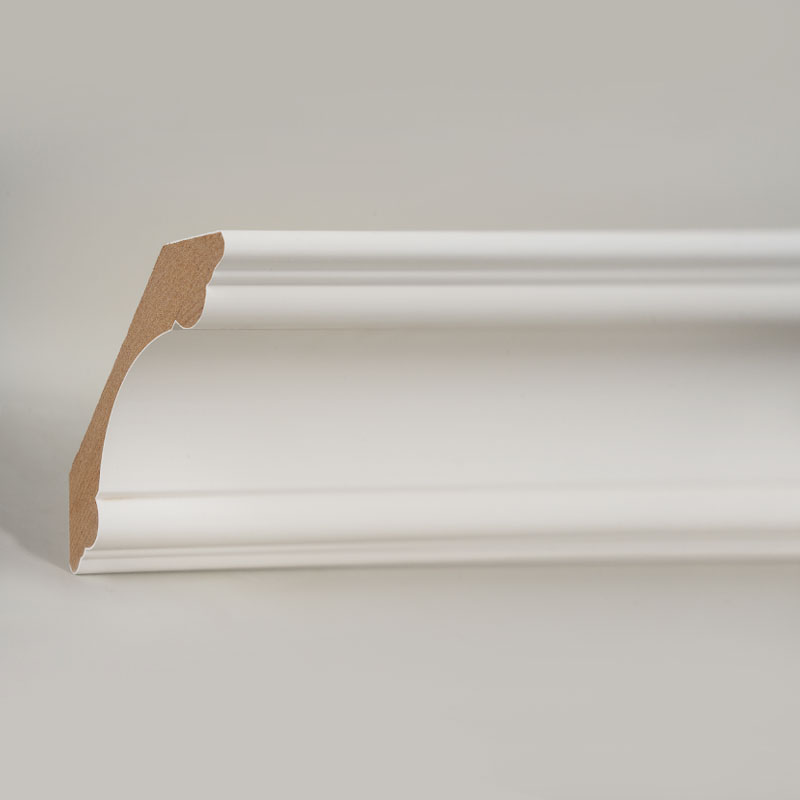
For ceiling trim, white primed MDF crown moulding is a reliable option that cuts cleanly and gives sharp corners without splitting. When you plan your next renovation, review this guide on choosing the right types of skirting boards to match your room style and cutting needs.
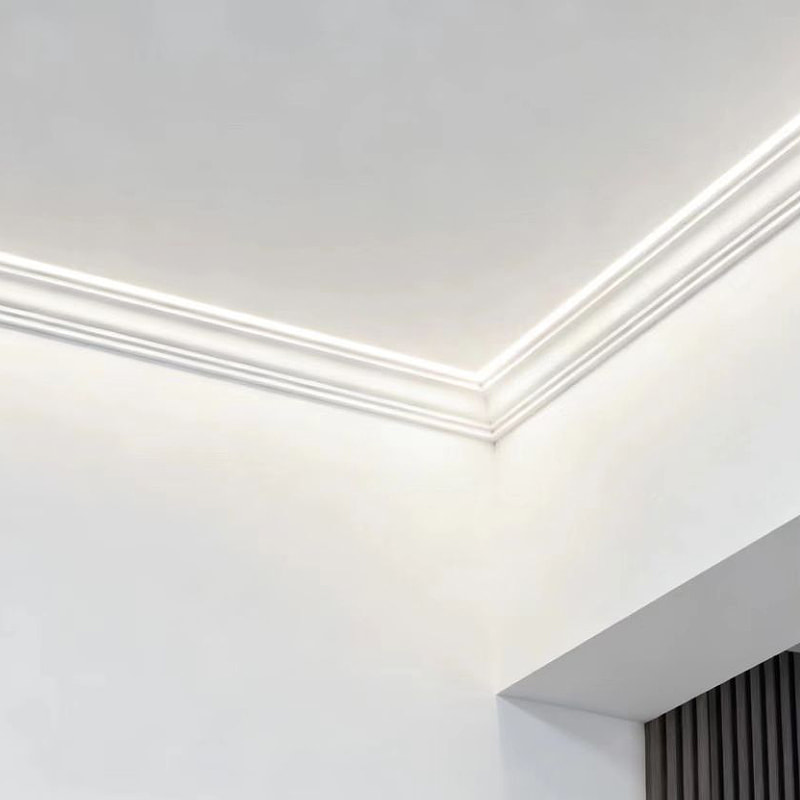 Pre-Primed MDF Crown Moulding with Durable FinishThis pearl-white MDF crown moulding features a high-density, eco-friendly core and a crack-resistant surface, providing sharp corners and a neat ceiling transition for your renovation.View Product →
Take the time to check your angle and make a test cut before you start. Even with the right trim material, a clean mitre corner is only as good as your setup.
Frequently Asked Questions About Mitre Corners
Q1: Can I cut a mitre corner without a miter saw?
Yes. A hand mitre box and a fine-tooth saw can cut accurate 45-degree angles for narrow trim like MDF quarter round moulding and small skirting boards. The key is to hold the saw straight in the slots and use a sharp blade. For wide or long trim, a power mitre saw gives better control and accuracy.
 MDF Quarter Round Moulding for Corner FinishingThis pre-primed MDF quarter round moulding creates neat 45-degree mitres, covers gaps and protects wall edges, simplifying corner work and enhancing durability.View Product →
Q2: What angle should I use for a standard mitre corner?
For a 90-degree corner, cut each piece at 45 degrees. If the corner is not square, measure the actual angle and divide it by 2 to get the correct mitre angle for each piece.
Q3: How do I fix a small gap in a mitre corner?
Small gaps can be closed with wood filler or caulk before painting. For a more precise fix, sand the cut face slightly to change the angle, then re-fit. In many cases, a thin shim behind the trim can push the faces together.
Q4: What is the difference between an inside mitre and an outside mitre?
An inside mitre is the joint between two walls that face each other, as in an interior corner. An outside mitre is the joint on an external corner. For an inside mitre, the cut edges face inward; for an outside mitre, they face outward.
Final Tips for a Successful Mitre Corner
Measure twice, cut once, and make a test cut before you cut the real piece. Invest in a sharp fine-tooth blade and keep your saw fence clean. If you are new to mitre cutting, practice on scrap trim first. The time you spend on a practice cut pays for itself in trim length that you do not have to buy twice.
Installers who nail or glue mitre joints get the best results when they take the time to dry-fit every corner. Read more about mitre joints in skirting boards for installation techniques that pair well with the cutting methods covered here.