 English
 Español
You cut two pieces of skirting board at 45 degrees, bring them to the corner, and the gap is impossible to hide. The wall is not square, the saw was not set correctly, or both. This is the moment when most installers reach for the filler. But the truth is that cutting angles in wood is a repeatable process, not a talent. Once you decide how the pieces should meet, measure the actual corner angle, transfer that measurement to the saw, and verify the setup on a scrap board, the guesswork disappears.
Why Angle Accuracy Matters More Than You Think
A one-degree error on a 45-degree miter does not look large on the saw table. On a 100 mm wide board, it creates a gap of roughly 1.6 mm at the front edge. Multiply that by two pieces meeting in a corner, and the joint opens by more than 3 mm. That gap is too large for paint alone to hide cleanly. In trim work, the geometry is on display. Skirting boards, crown moulding, and quarter round are fitted exactly where the eye lands, so the goal is a joint that needs only a thin coat of paint, not a thick bead of filler.
The rule is simple: the angle of the corner creates the angle of the cut. Measure the corner before you set the saw.
Tools for Measuring and Cutting Angles in Wood
The saw does the cutting, but the measuring tools do the precision work. A miter saw only cuts the angle you set. If the angle you set is wrong, the cut is wrong. Here is a practical grouping of tools that make the process reliable.
| Tool | Primary Role |
|---|---|
| Sliding T-bevel | Holds an existing wall angle so you can transfer it to the saw |
| Digital angle finder | Reads the true corner angle to within 0.1 degree |
| Speed square | Marks and verifies 45-degree and 90-degree cuts |
| Combination square | Checks squareness and marks cut lines |
| Miter saw with bevel adjustment | Performs miter and compound bevel cuts |
For a first-time installer, a digital angle finder plus a sliding T-bevel is the fastest way to remove uncertainty. They are inexpensive, and they eliminate the habit of assuming that every corner is a perfect 90 degrees.
Understanding the Four Types of Angle Cuts in Wood
Before touching the saw, decide which type of joint you need. Each has a specific purpose, and choosing the wrong one is a common cause of poor results.
- Miter cuts split the total corner angle into two equal halves. For a 90-degree corner, each piece is cut at 45 degrees. Miters are used for outside corners, door and window casings, and for joining quarter round and baseboard.
- Cope cuts remove the profile of the trim so the end of one piece fits against the face of the piece already installed. Coping is the preferred method for inside corners in older homes where the walls are not square.
- Butt joints are used where a flat end meets a flat surface. A baseboard meeting a door casing is a typical butt joint. The faces are flush, and the cut angle is usually 90 degrees.
- Scarf joints connect two pieces in a long run. The two cut angles are equal, typically 15 to 30 degrees, creating an overlap that hides the seam when painted.
Cutting Crown Moulding Angles: The Spring Angle Factor
Crown moulding is not installed flat against the wall. It is tilted away from both the wall and the ceiling at a fixed angle called the spring angle. The spring angle determines the saw settings for a compound miter cut. Two common spring angles are 38 degrees and 45 degrees. For a square corner with a 38-degree spring angle, the miter angle is typically 31.6 degrees and the bevel angle is 33.9 degrees. For a 45-degree spring angle, the settings are 35.3 degrees miter and 30.0 degrees bevel.
These values assume a true 90-degree corner. When the wall is not square, measure the corner angle with a digital angle finder and apply the correction before cutting. In practice, many installers cut a small test piece first to confirm the joint. This is not a waste of time; it is the reason experienced trim carpenters fit joints quickly and without filler.
primed pine crown moulding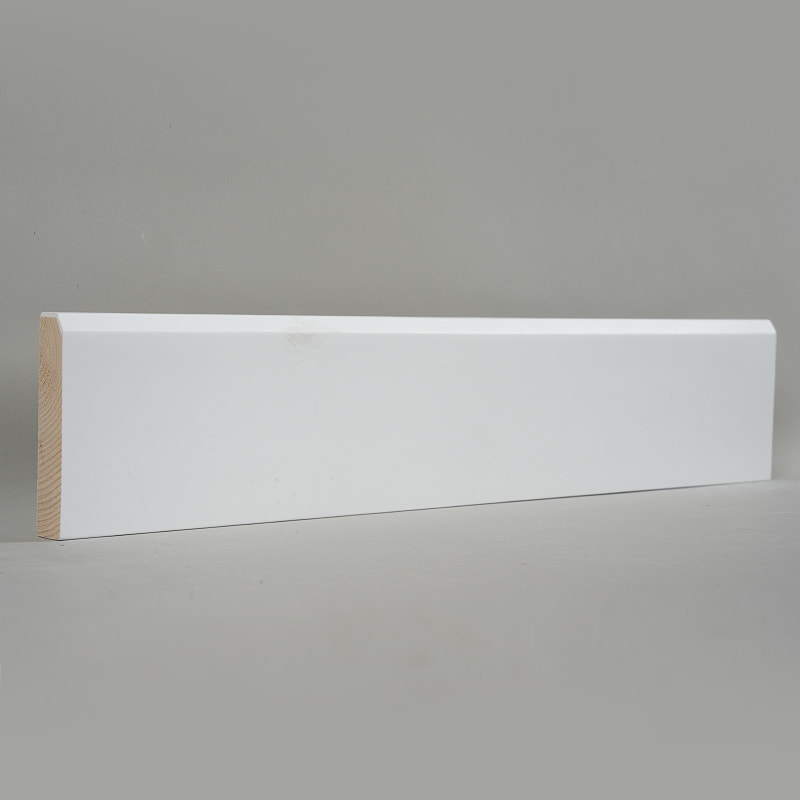 Pine Crown Moulding for Wall-Ceiling JunctionsThis pine crown moulding protects wall-ceiling corners and adds decorative depth. Its natural grain and paint-ready surface suit various interior styles, making it a reliable choice for connecting walls and ceilings.View Product →
Cutting Angles for Skirting Boards and Baseboards
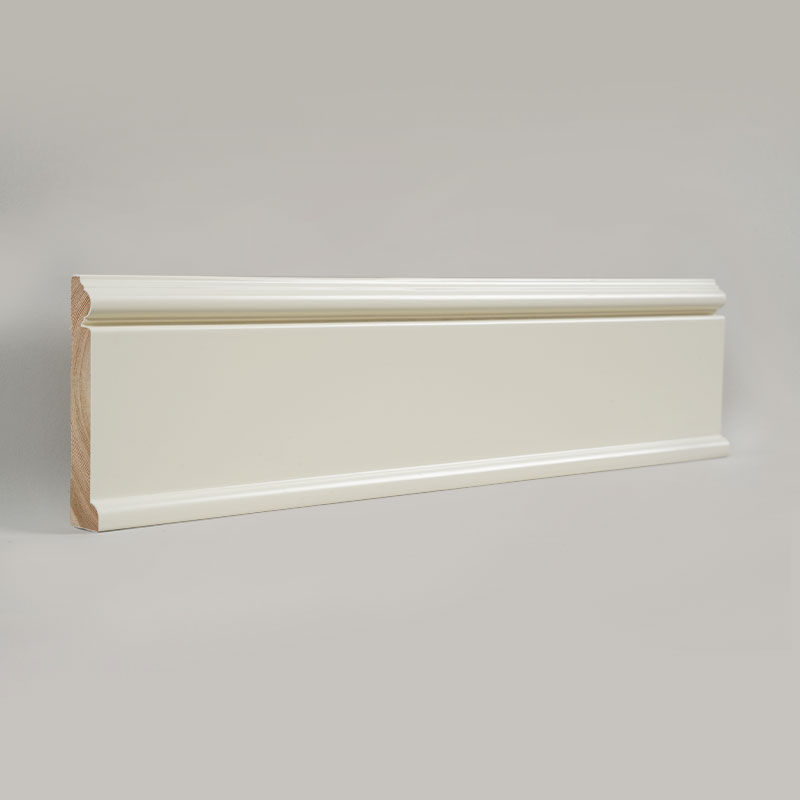
Skirting boards need two different approaches depending on the corner. For inside corners, coping is the preferred method. A mitered inside corner looks neat on a square wall, but once the wall angle drifts off 90 degrees, the joint opens. Coping lets one piece follow the wall profile exactly. For outside corners, cut mitered ends. Measure the outside angle, divide it by two, and set the saw. If the corner is a true 90 degrees, the miter is 45 degrees. Use a sliding T-bevel or digital angle finder when the corner is not square.
When lengths must be joined along a wall, use a scarf joint with a slight overlap angle, usually around 15 to 20 degrees. This keeps the two pieces flush and provides a self-locking joint that is easy to paint. For MDF skirting boards, the same cutting principles apply, but a clean, sharp blade is essential.
For a deeper walkthrough on the practical side, see how to install skirting boards with miter joints.
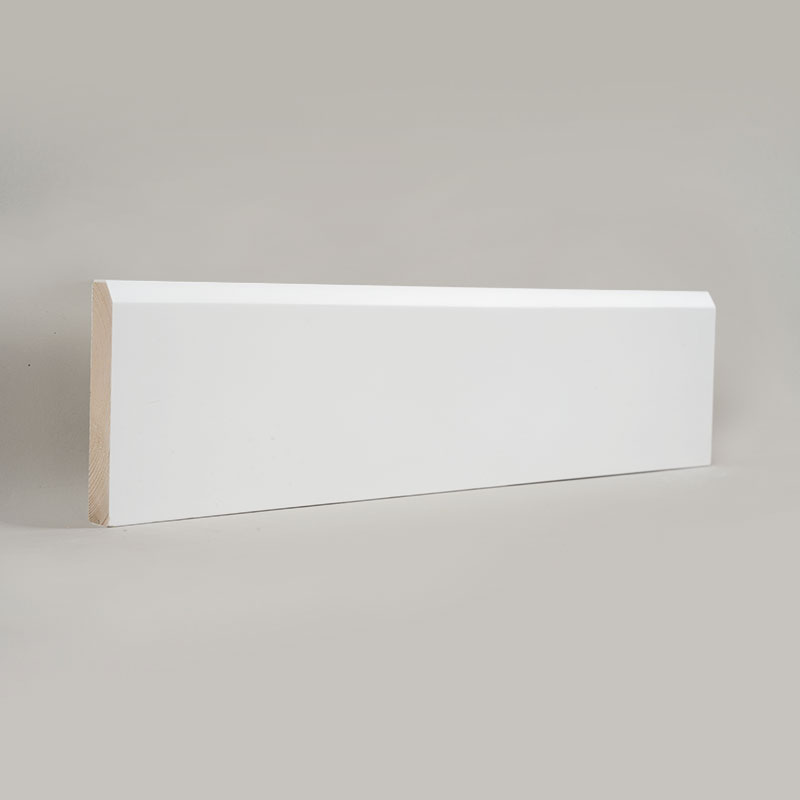
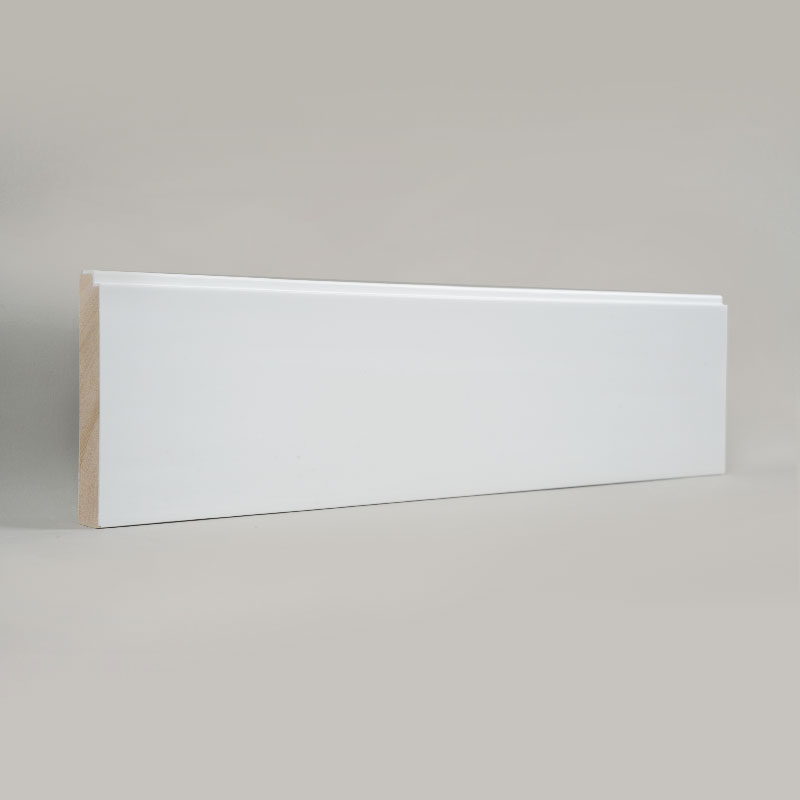
primed MDF skirting boardPrimed MDF Skirting Board for Modern InteriorsThis high-density MDF skirting offers a smooth, primed surface for painting. It is suitable for residential and commercial spaces, enhancing wall-floor transitions with a clean, minimalist look.View Product →Cutting Angles for Quarter Round, Scotia, and Transition Strips
Quarter round and scotia moulding are small profiles used at the base of skirting boards and around floor openings. Because they are small, the requirement for precision is even higher. A one-degree error still leaves a visible gap, and filling it is harder because the exposed area is tiny.
Standard 45-degree miters work for most corners. For inside corners, a cope cut gives the cleanest result. For outside corners, set the saw to half the measured wall angle. Transition strips between different flooring materials also need angled cuts. In a doorway where wood meets tile, the strip is usually cut at a straight 90 degrees. But at a diagonal transition, measure the existing angle and cut accordingly.
pine quarter round mouldingRadiata Pine Quarter Round for Soft TransitionsThis quarter round moulding creates smooth curves between walls, ceilings, or floors, softening sharp edges. Its lightweight, stable pine construction accepts finishes and fits various decorative projects.View Product →Common Mistakes Cutting Angles in Wood and How to Avoid Them
- Confusing miter angle with bevel angle. On a compound cut, the miter is the horizontal rotation and the bevel is the vertical tilt.
- Assuming walls are 90 degrees. Most walls are not exactly square. Always measure the actual corner angle.
- Measuring the outside edge instead of the inside edge. For a mitered skirting board, the outside length differs from the inside length on a rounded wall.
- Using a dull blade. A dull blade deflects, rounds the cut, and leaves a fuzzy edge that opens under paint.
- Skipping the dry fit. A thirty-second test with scrap wood prevents repeating the same cut on good material.
Cutting Angles in Wood: Frequently Asked Questions
Q1: What angle do I set the saw for a 90-degree corner?
For a standard miter joint, set the saw to 45 degrees for each piece. The two pieces meet to form the 90-degree corner.
Q2: Should I cope or miter an inside corner?
Cope if the walls are not square or if the joint must remain stable through seasonal movement. Miter is simpler, but even a small wall angle offset opens the joint.
Q3: How do I measure an odd corner angle?
Use a digital angle finder or a sliding T-bevel. Place the tool across the corner, read or hold the angle, then transfer it to the saw.
Q4: Can I cut crown moulding without a compound miter saw?
Yes, you can lay the crown flat on the saw table using a crown jig, but compound settings are more reliable. A saw with both miter and bevel adjustment plus a crown jig is sufficient.
Accurate angle cutting in wood comes down to three habits: measure the real corner, transfer that measurement to the saw without guessing, and dry fit a scrap piece before every important cut. Whether the job is a set of crown mouldings, a run of skirting boards, or a quick quarter round fix, the process is the same. Start with the corners, let the angles tell you what to cut, and the gaps disappear.